
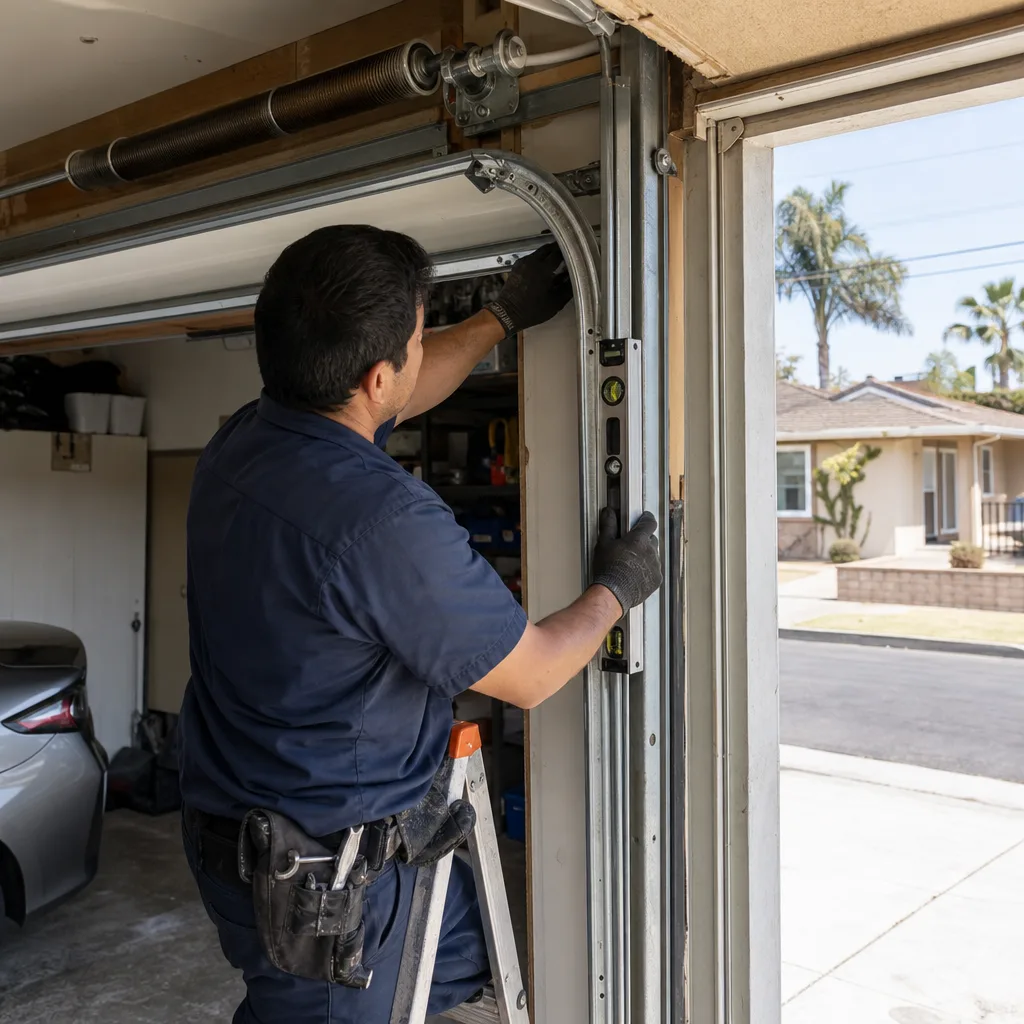
Last updated November 2, 2026
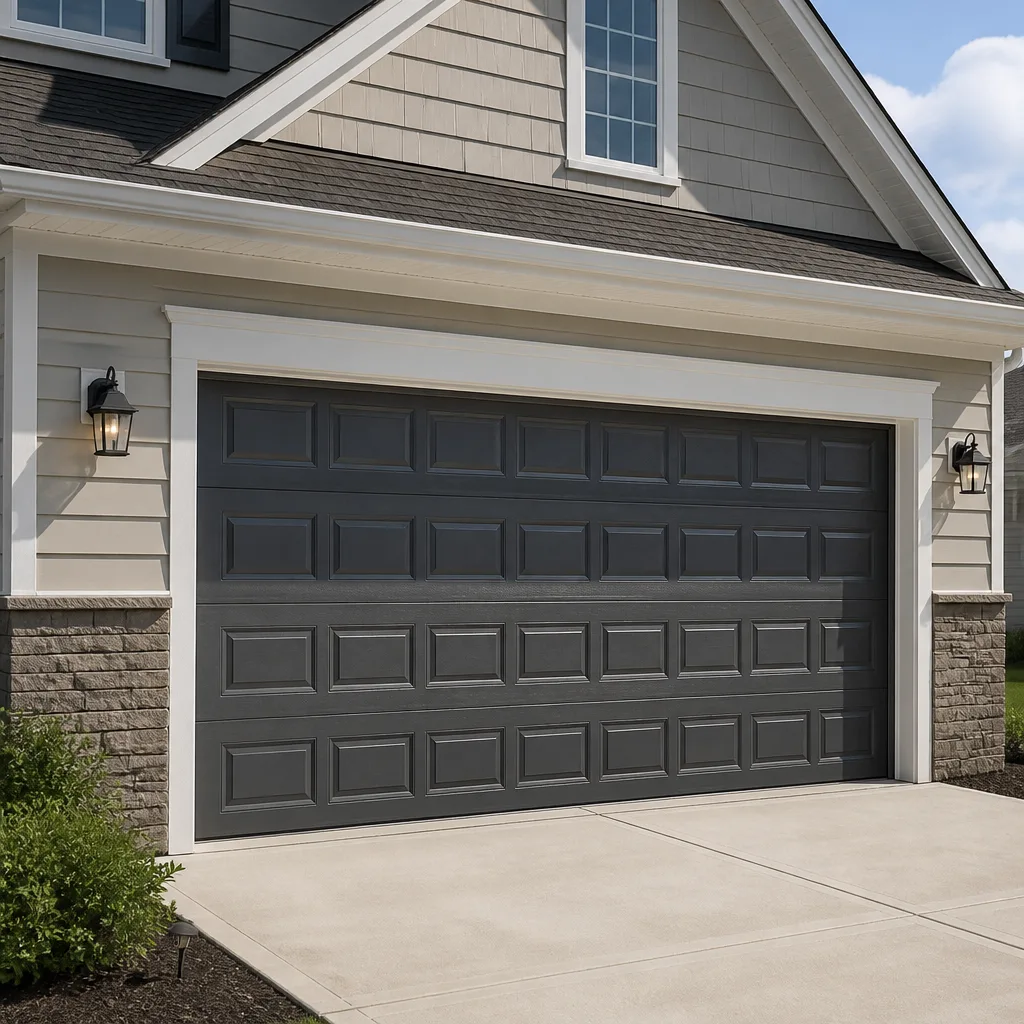 Raised-panel steel
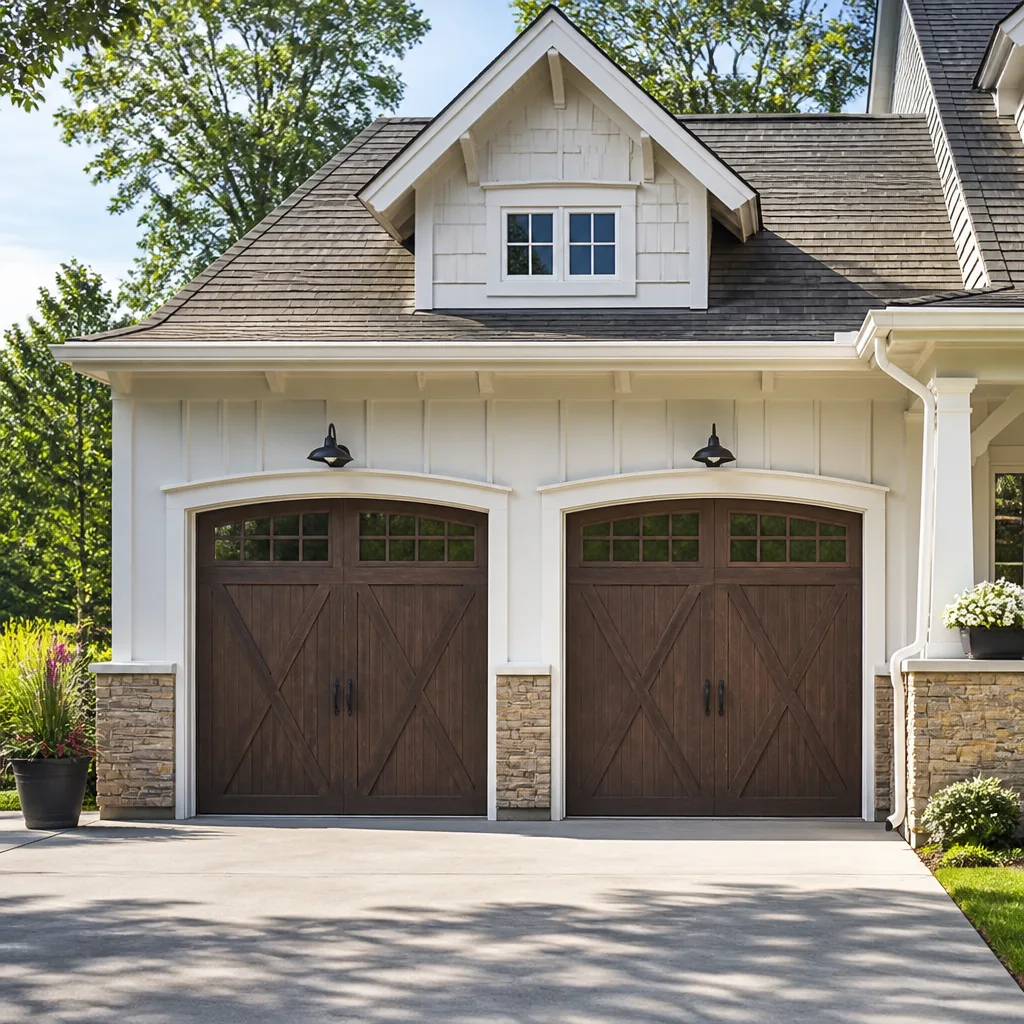 Carriage house
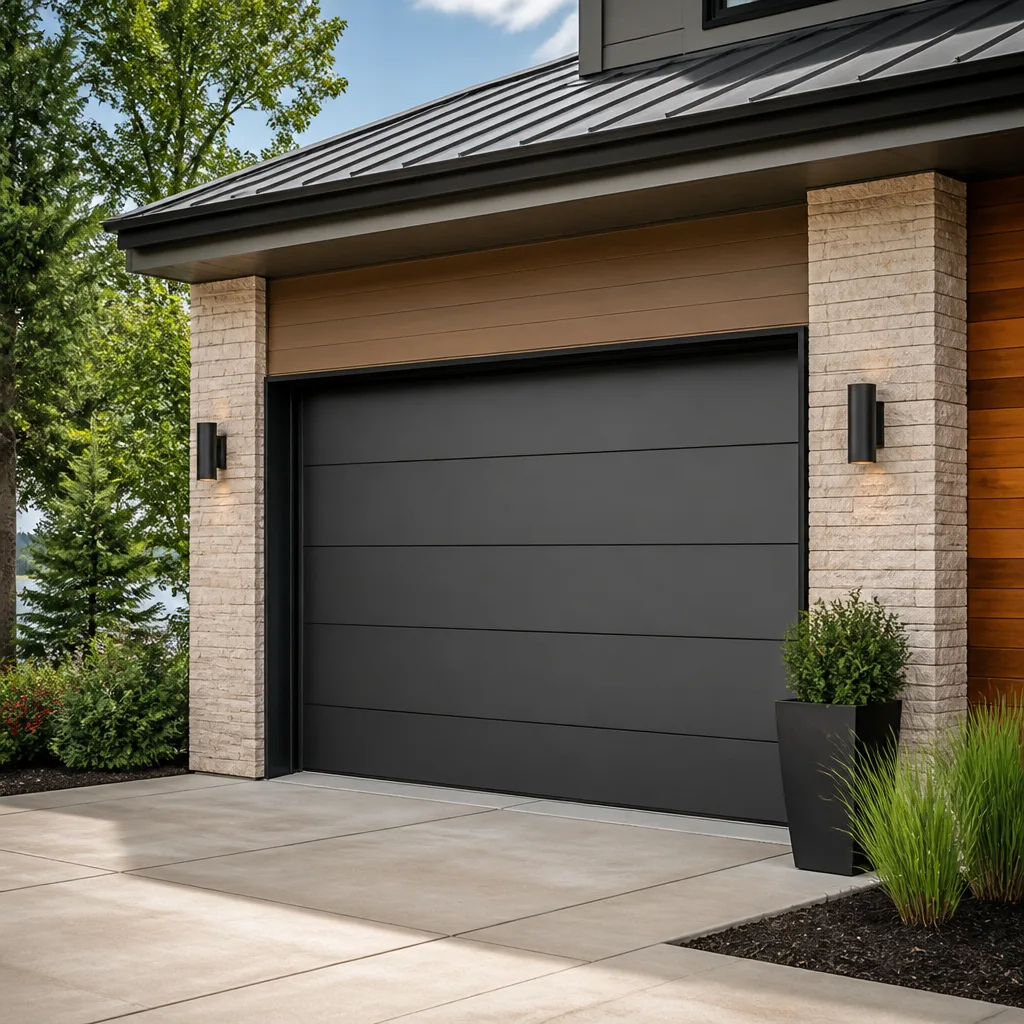 Modern flush
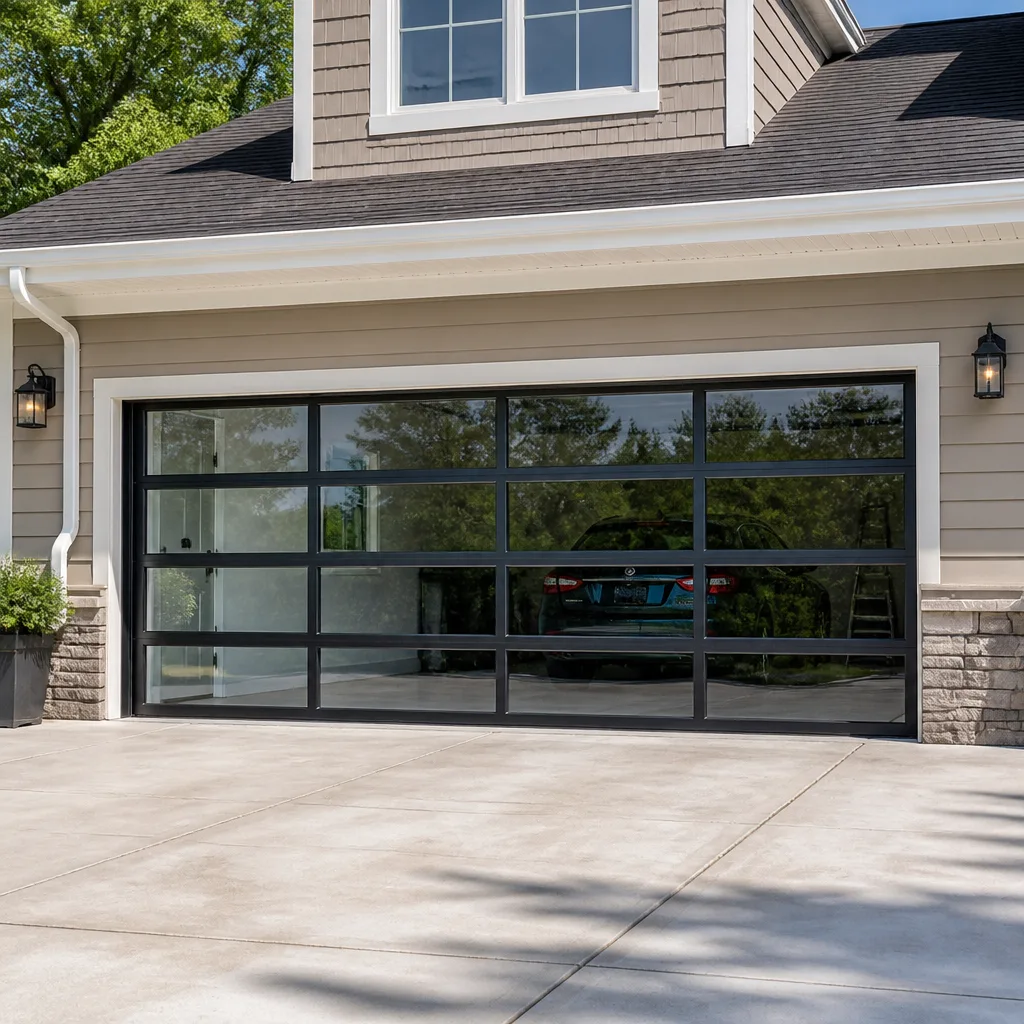 Full-view glass
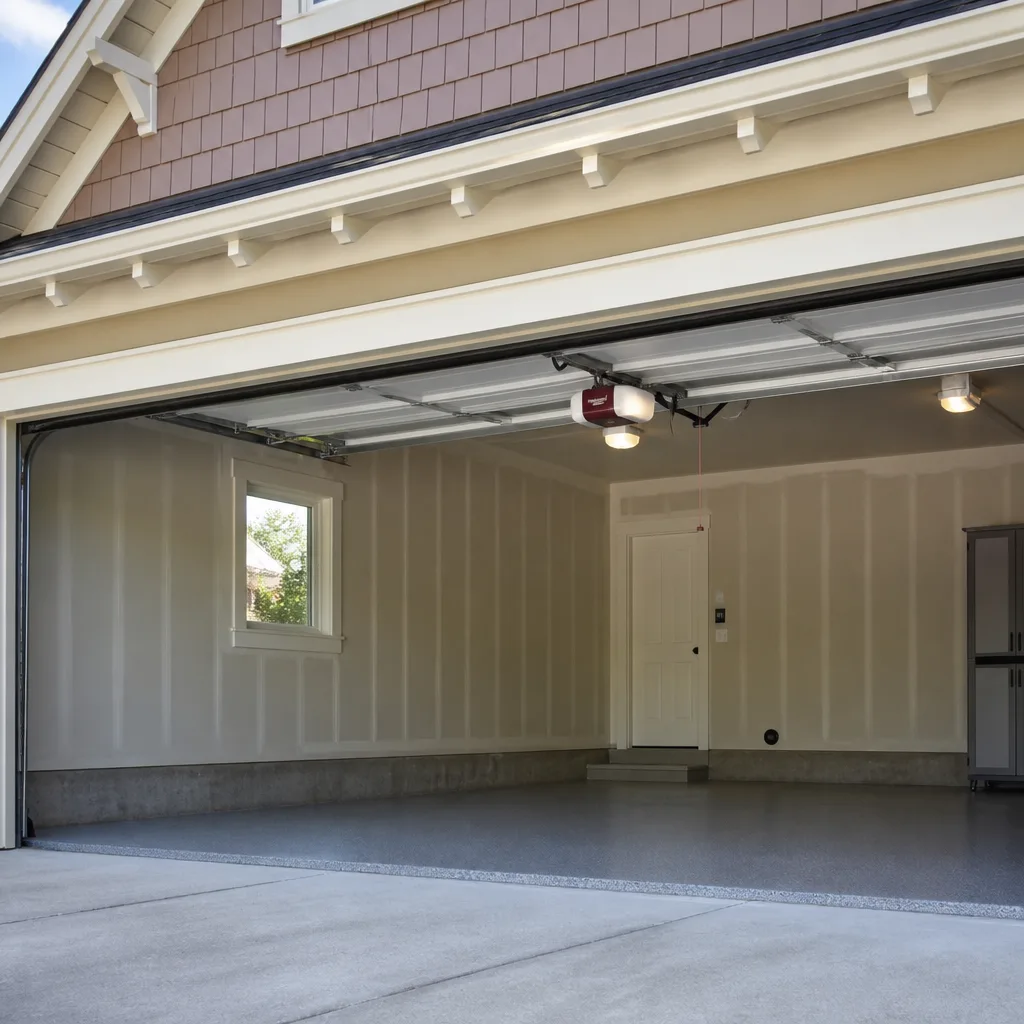 LiftMaster openers
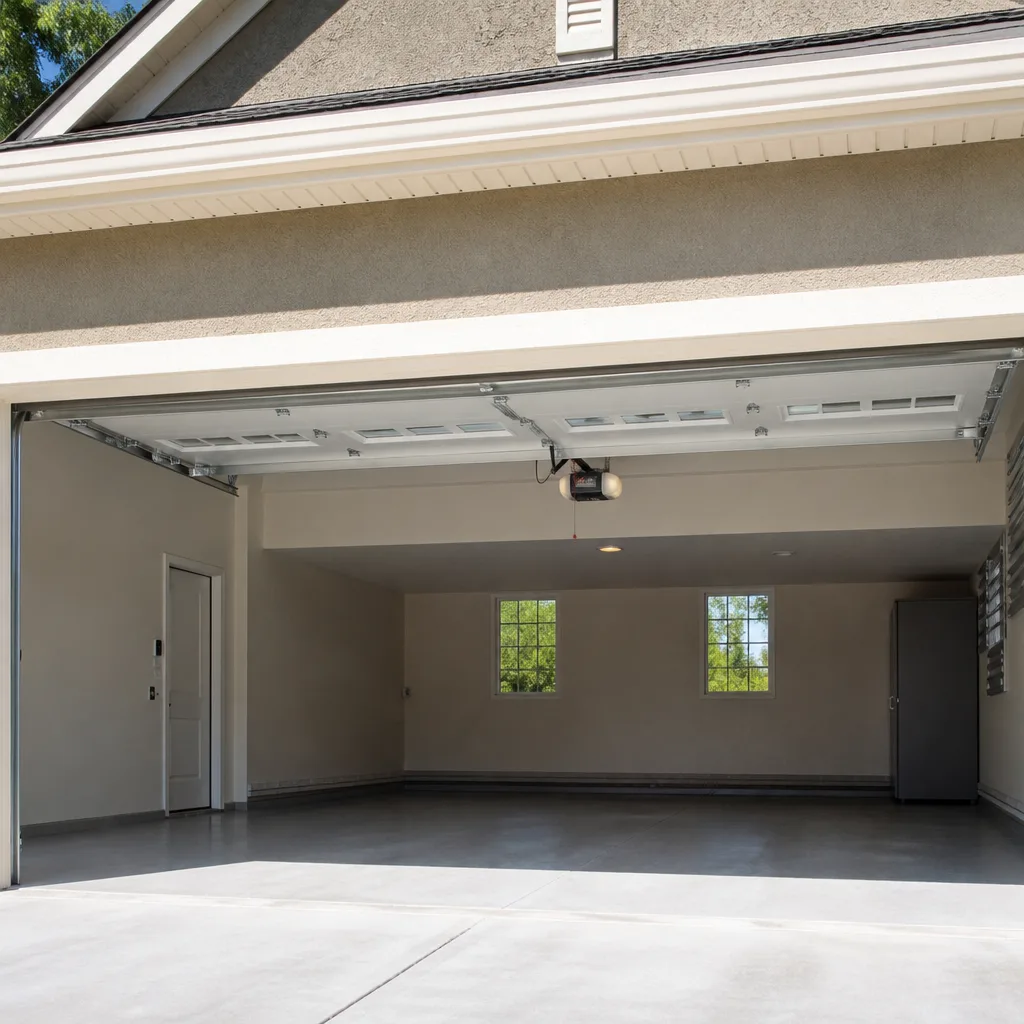 Chamberlain openers
Full 25-point door and opener safety check with every visit - springs, cables, rollers, tracks, and your LiftMaster or Chamberlain opener included
You get a price before we start. It does not change when the truck arrives.
Get your free estimateGarage Door Repair Troubleshooting: Common Problems and How to Fix Them
The most common garage door misdiagnosis we see in Downey goes like this: a homeowner replaces a perfectly good opener because the door won’t move, when the real culprit is a broken torsion spring that’s simply too heavy for the motor to lift. The opener was fine. The $300 replacement was wasted. This guide walks through the actual diagnostic sequence a trained technician uses on the first visit, so you can rule out misdiagnosis before approving any our Garage Door Repair services quote. By the time you finish, you’ll know how to separate mechanical problems from electrical ones, interpret what different noises actually mean, and test specific opener components without voiding a warranty. We work exclusively on garage doors in Downey, and what follows is the same troubleshooting path we use in garages across this city every week.
Quick Answer
Garage door troubleshooting starts with one test: disconnect the opener with the manual release and lift the door by hand. If it’s heavy or won’t move, the problem is mechanical (springs, cables, rollers, or track). If it moves freely by hand but won’t operate with the opener, the problem is electrical (remote, wall button, logic board, or motor). This single test splits every garage door problem into two categories and prevents the most expensive mistake we see: replacing an opener when the spring failed first. Always start there, then work through the sections below that match what you found.
Styles & brands we work with
- Raised-panel steel
- Carriage house
- Modern flush
- Full-view glass
- LiftMaster openers
- Chamberlain openers
Table of Contents
- The Manual-Release Test: The First Step Every Technician Takes
- The False Opener Failure: When the Opener Gets Blamed for a Mechanical Problem
- Noise-to-Cause Translation: What Your Garage Door Is Telling You
- Testing Limit Switches and Force Settings on Common Openers
- Remote vs. Wall Button vs. App: When Only One Input Fails
- How Downey’s Climate Affects Garage Door Components
- A Maintenance Routine That Prevents Most Breakdowns
- Common Mistakes to Avoid During DIY Troubleshooting
- When to Call a Garage Door Professional
- Frequently Asked Questions
The Manual-Release Test: The First Step Every Technician Takes
Before touching any component, before unplugging anything, before spending a dollar on parts, the first move is the manual-release test. It takes under a minute and it tells you more than any YouTube video ever will. Here’s how it works.
The manual release is a red cord hanging from the opener rail. Pulling it disconnects the door from the opener carriage, so the door can be moved by hand. On LiftMaster and Chamberlain openers, the cord hangs from a trolley that slides along the rail. On Genie openers, the release mechanism sits on the carriage itself. The exact look varies by brand, but the function is identical across all of them.
Here’s the sequence we use on every service call in Downey:
- Pull the red release cord straight down. You’ll hear a click as the carriage disengages from the door.
- Lift the door by hand using the bottom handle or outside grip. Do not lift from the top of the door sections. Do not put your fingers near the panel joints.
- Stop lifting at waist height and let go slowly. The door should hold its position without drifting down more than a couple of inches.
- If the door stays put, raise it to full open position. It should stay open without support.
- Lower the door back down by hand. It should move smoothly, with no binding or catching along the track.
What this tells you: if the door is heavy, won’t stay up, or feels like it weighs 400 pounds, you have a mechanical problem. Springs, cables, rollers, or track alignment. Not the opener. If the door moves freely and stays in place at every position, the opener is the problem. But the opener being the problem does not mean the opener needs replacing. It means the opener needs diagnosis. The control systems on LiftMaster, Chamberlain, Genie, Craftsman, and Raynor openers all fail in specific ways, and most of those failures are repairable.
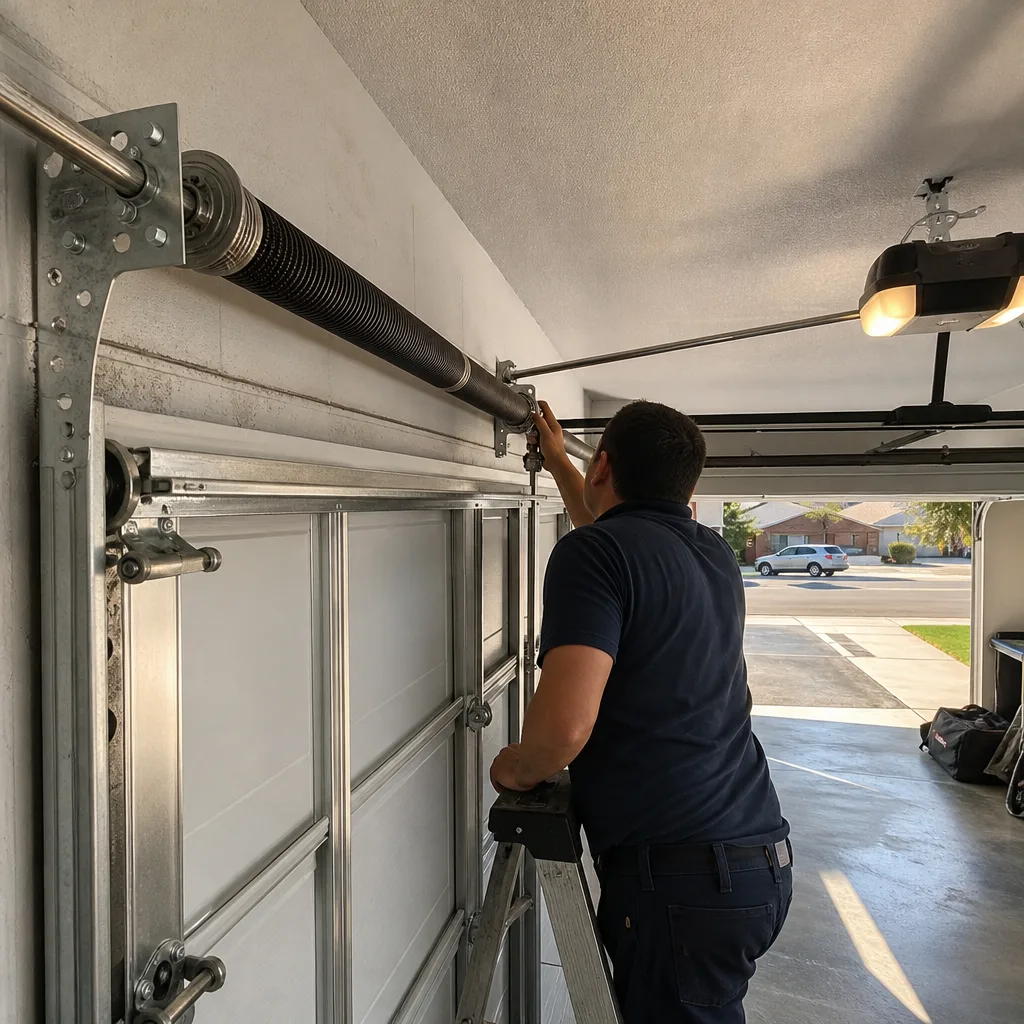
A critical safety note before going further: torsion springs are under extreme tension. A single spring on a typical Downey two-car garage holds enough force to lift roughly 150 to 200 pounds, and when it snaps, that force releases instantly. Do not attempt to adjust, remove, or re-tension any spring yourself. Between 2016 and 2023, spring-related injuries sent thousands of homeowners to emergency rooms. That’s not a scare tactic. It’s the reality of a trade where the springs are the one component that can seriously hurt you. If the manual-release test points to a spring problem, that’s where a trained specialist steps in.
In our experience across Downey, roughly half of all service calls that start with “my opener is broken” end with a spring or cable diagnosis after this one-minute test. The manual-release test is the single highest-value troubleshooting step a homeowner can perform. Every other test in this guide assumes you’ve done it first.
The False Opener Failure: When the Opener Gets Blamed for a Mechanical Problem
We’ve already flagged the most expensive misdiagnosis in this trade: replacing an opener when a spring is the real problem. But that’s not the only way an opener gets falsely accused. Here are the patterns we see repeatedly in Downey garages, and how to spot each one before you spend money on the wrong repair.
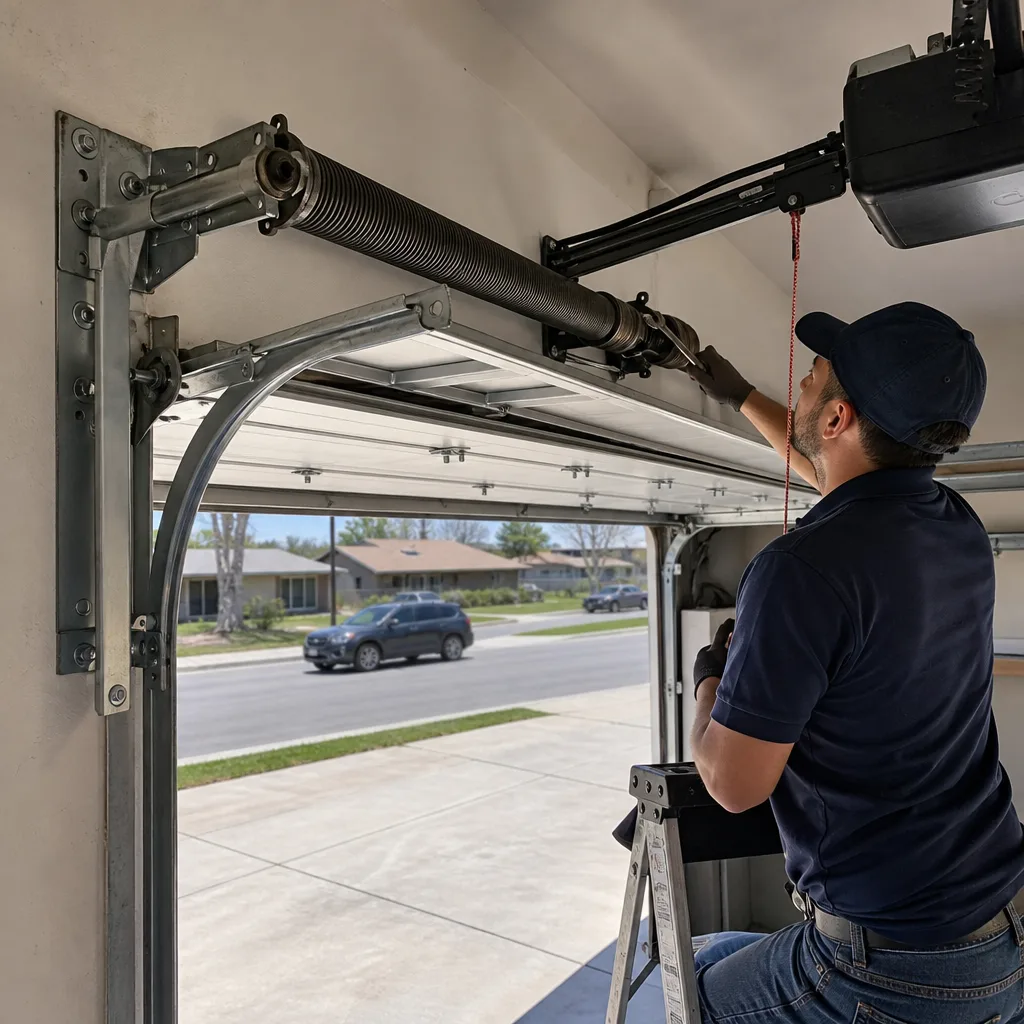
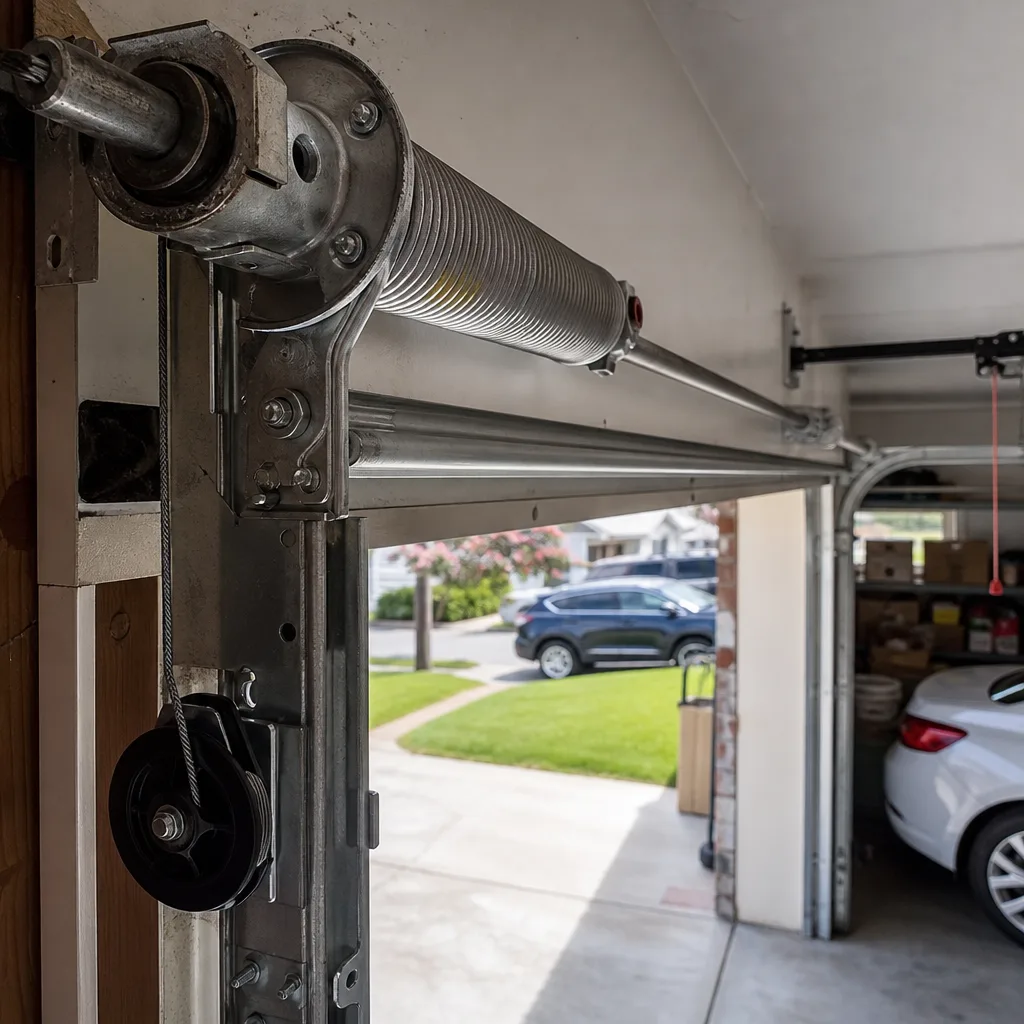
Dead torsion spring. The door won’t lift at all. The opener motor hums, grinds, or strains but the door doesn’t move. The release cord is pulled, and the door feels like it’s bolted to the floor. This is the classic spring failure. Torsion springs have a cycle life rating, typically in the 10,000 to 20,000 range depending on brand and use. If your door is opened three times daily, a basic spring set wears out in roughly 7 to 9 years. When it breaks, no opener on Earth can lift that door. The fix is a new spring set, not a new opener. A specialist familiar with your door brand can install a matched pair of springs and balance the door properly in about an hour.
Snapped lift cable. Often looks like the door is crooked when it opens, jamming tight against one side of the track. A frayed cable can snap suddenly, and the door will drop or bind on that side. If you see a loose cable hanging from the drum at the top of the track, stop operating the door immediately. The remaining cable and spring are now supporting the entire weight of the door. This is a mechanical repair requiring cable replacement, and often a drum inspection too. Don’t try to re-spool the cable yourself. The drum is under load.
Derailed roller. The door is stuck mid-track, or it opens unevenly with a visible gap on one side. Rollers derail when the track is dented, the hinges are worn, or the door was bumped. A derailed roller will scrape against the track and cause the opener to strain against excess resistance. The modern openers on LiftMaster and Chamberlain units have force sensing that will stop the motor and reverse to protect the door, but older models may keep pushing and damage the track further.
Rusted or broken bottom bracket. The bottom brackets attach the lift cables to the bottom panel. Over time, especially in coastal-influenced humidity, these steel brackets rust and eventually snap. When one side fails, the door will jam and the opener will be blamed. This is a replacement part on most major brands, and it’s straightforward for a technician who carries the correct bracket for your door’s make and model.
Here’s the pattern to internalize: if the opener hums but the door doesn’t move, or if the door moves unevenly and labored, the opener is usually innocent. Mechanical failure creates the symptom, and the opener is just trying to work against an impossible load. Diagnose first. Buy parts second. That sequence alone saves hundreds.
When the false opener failure is a broken spring or cable, the solution is garage door repair in Downey from someone who carries brand-specific replacement parts and knows which spring size your door takes. Generic spring replacements defeat the purpose of a balanced door.
Noise-to-Cause Translation: What Your Garage Door Is Telling You
Garage doors make noise. Some is normal. Some is a warning. The difference is in the specific sound and when it happens during the opening cycle. Here’s what each sound means, based on what we hear on dozens of Downey service calls every month.
| Sound | What It Indicates | Urgency |
|---|---|---|
| Grinding | Rollers worn flat or track misaligned, causing metal-on-metal contact. Opener gear stripped on older units. | Medium. Gets worse quickly. |
| Squealing | Dry rollers, dry hinges, or an opener chain/belt that needs lubrication. Often accompanied by increased resistance. | Low to medium. Fix early. |
| Popping | A torsion spring binding or catching on itself as it unwinds. Also heard when a spring begins to fail and sections of spring scrape together. | High. Spring failure may be imminent. |
| Banging | Loose track hardware, a bent track, or the door hitting the stop guides at the end of travel. On openers, a stripped gear produces a rapid metallic banging. | Medium to high depending on cause. |
| Rattling | Loose hinges, loose brackets, or loose opener rail mounts. The door is not falling apart, but hardware needs tightening. | Low. Tighten what’s accessible. |
A grinding sound that gets progressively worse over weeks usually means your rollers have flat spots. Nylon rollers wear from round to oval, then to flat-sided, and they scrape against the track instead of rolling. Flat rollers drag, which makes the opener work harder, which shortens the opener’s life. Replacing rollers is one of the cheapest maintenance jobs in this trade.
Squealing is easier to diagnose: it’s almost always a dry component. Hinges, bearings, and opener chains all need periodic lubrication. Use a garage-door-specific lubricant, not WD-40, and not grease. A light penetrating silicone or lithium spray works best on door hardware. On opener chains, a light coat of white lithium on the chain itself, wiped down after application, reduces noise without creating a mess that attracts Downey’s fine dust.
Popping is the one sound you should take most seriously. Torsion springs don’t fail silently. Before a spring breaks, you’ll often hear popping or creaking as the spring unwinds and re-winds during operation. That sound tells you the spring is near the end of its service life. When a spring breaks, it sounds like a gunshot inside the garage. Not “like a gunshot” as a figure of speech, but a loud crack that homeowners frequently report as thinking someone had broken into the house. If you’re hearing popping from your springs, call before it turns into a broken spring and a door that won’t open at all.
For Downey homeowners, banging often comes from the rails or the stop guides. The temperature swings between inland heat and evening cool cause metal to expand and contract, and mounting bolts loosen over time. Tightening everything you can reach with a wrench solves a surprising number of noise problems.
Testing Limit Switches and Force Settings on Common Openers
When the door opens partially and stops, or reverses when closing without an obstruction, the problem often lives in two settings: travel limits and force sensitivity. Both are adjustable, and both can be tested without voiding your opener’s warranty on most current models. Here’s what to know.
Travel limits tell the opener how far the door should move in each direction. If the “up” limit is set too low, the door opens 80% of the way and stops. If the “down” limit is set too high, the door doesn’t fully close and sits with a gap at the floor. If the limit is set too far, the door bangs at the end of travel, and the force sensor may reverse the door as a safety response.
Force settings tell the opener how much resistance is acceptable before it reverses. Too little force, and the door reverses constantly, even when nothing is blocking it. Too much force, and the opener will push through an obstruction, which defeats the safety reverse mechanism and becomes a hazard, especially for homes with small children or pets.
Here’s how to test and adjust on the three opener families most common in Downey garages:
- LiftMaster and Chamberlain. These openers share the same control interface. The travel limit controls are on the side of the motor unit, behind the light cover on newer models. Look for two small dials or buttons labeled “up” and “down.” Adjust in small increments, running the door after each change. The force controls are labeled with an arrow or “force” and work the same way: turn slightly, test the door, repeat.
- Genie. Genie openers use buttons on the motor unit, typically a “program set” button followed by the up and down arrows. On newer Genie belt drive units, the limit is set digitally through a series of button presses that differ by model. Check the label on the motor unit for a model number before looking up the specific sequence.
- Craftsman and Raynor. These brands are often rebadged Chamberlain or LiftMaster mechanisms. Craftsman openers from the last 20 years use the same dial-style limit and force controls as Chamberlain units. Raynor openers, depending on age, may use a similar layout. The test procedure is the same regardless of the brand label: adjust, test, adjust, test.
Testing force settings is critical after any spring replacement. A new spring changes the balance of the door, so the opener’s force setting from the old spring is wrong. That’s one reason we re-check force and travel on every garage door opener repair in Downey, even when the customer called about a spring. The two systems work together, and a professional tunes both in the same visit.
Remote vs. Wall Button vs. App: When Only One Input Fails
When the wall button works but the remote doesn’t, or the app fails while both physical controls work, you’re not looking at a motor problem. You’re looking at a signal problem, and the target is different for each pattern.
Wall button works. Remote doesn’t. The logic board and motor are fine. The problem is the remote itself, the remote battery, or the opener’s receiver. Start with the battery. A dead remote battery is the second most common garage door problem we see in Downey, right after broken springs. If a new battery doesn’t fix it, check whether the remote’s LED lights up when you press a button. If it lights up but the door doesn’t move, the remote may need reprogramming, or the receiver module on the logic board has failed. On newer LiftMaster and Chamberlain openers, the receiver is integrated into the logic board. On older Genie units, the receiver is a separate module that can be replaced without swapping the entire opener.
Remote works. Wall button doesn’t. The wall button is a simple normally-open switch. When it fails, the symptom is specific: the remote works fine, but pressing the wall button does nothing. On older hardwired buttons, the wires that run along the ceiling or down the wall may be damaged. On newer models with a wall console that shows temperature, time, and lock features, the console itself may need replacement. The wall console units on Chamberlain and LiftMaster openers are inexpensive and plug into the same two-wire connection as the old button.
App fails. Both physical controls work. The app connects through wired internet or Wi-Fi, depending on the opener. If the app shows the opener as offline but the wall button and remote still work, the problem is in the opener’s connectivity module, not the door. On LiftMaster and Chamberlain openers with MyQ, the Wi-Fi module is built into the logic board on newer units. On older units, a separate internet gateway device connects to your router. A power cycle of the opener is the first step: unplug for ten seconds, plug back in, wait for the opener to re-establish connection. If the app is still offline, the Wi-Fi module may have failed, and depending on the model, it may be repairable without touching the motor.
Any of these patterns means the opener’s mechanical and logic systems are likely fine. The fix is specific to the input that failed. Replacing an entire opener because one remote stopped working would be like replacing the engine because a turn signal bulb burned out. It happens, but it shouldn’t, and a specialist who deals with openers daily will diagnose the actual failed component first.
How Downey’s Climate Affects Garage Door Components
Downey sits in the San Gabriel Valley corridor, where summer temperatures routinely climb into the 90s and winter nights drop into the 40s. That temperature range creates specific conditions that affect garage door hardware in ways homeowners in other climates don’t experience.
Metal expansion is the first one. Steel tracks, steel hinges, and steel springs all expand and contract with temperature swings. Over a few seasons, the bolts that hold the track brackets to the wall can work loose. Loose track brackets cause the track to shift, which causes the rollers to bind, which causes the opener to work harder, which shortens the opener’s life. A simple bolt-tightening pass once a year prevents a cascade of downstream failures, and it’s one of the lowest-cost maintenance items on any door.
Lubricant longevity is another factor. Downey’s dry heat causes spray lubricants to dry out faster than they do in more humid climates. A door that was lubricated in spring may be squealing again by late summer. In our experience, Downey doors benefit from lubrication every four to six months, not the once-a-year schedule most generic guides recommend.
If your home is in one of Downey’s older neighborhoods, especially the areas with homes built in the 1950s and 1960s, the garage doors are often lighter wood-frame doors that have been in service for decades. These doors put less load on springs than modern steel doors, but the hardware is often original, and rollers of that era were steel-on-steel, which is harder on tracks than modern nylon rollers. Upgrading old steel rollers to nylon is a common retrofit in Downey that quiets doors immediately and extends track life.
For homes near the 605 corridor or on streets with higher traffic volume, dust and fine particulate matter build up on lubricated parts and form a grinding paste. If your door squeaks and the sound gets worse after you clean it, that’s dust loading on dry or contaminated lubricant. Wipe down tracks and rollers with a dry cloth, then apply a light layer of fresh lubricant. Heavier grease collects more dust, which is why we recommend light-bodied products for this climate.
The good news on climate: Downey doesn’t have snow, salt, or coastal humidity eating at steel components the way beach cities and mountain towns do. A door maintained on a regular schedule in Downey will last longer than the same door in many other parts of California.
A Maintenance Routine That Prevents Most Breakdowns
Most garage door breakdowns are not sudden. They develop over weeks or months, and the warning signs come first: noise, labored operation, a door that sags on one side, an opener that reverses more often than it used to. A basic maintenance routine, done quarterly or seasonally, catches these signs before they become a no-door emergency at 7 AM on a Monday.
Here’s the routine we recommend for every Downey homeowner, timed to the seasons:
- Test the manual release (every month). Pull the red cord and move the door by hand. If it’s heavier than it was last month, something is changing in the spring or track system. This one test catches spring wear before the spring breaks.
- Listen during a full open and close (every week). You don’t need to inspect anything. Just listen for new noises. Your ear is the best early warning system. Grinding means rollers. Popping means springs. Squealing means dry hardware.
- Lubricate rollers, hinges, and springs (every 4-6 months). Use a light garage-door-specific spray. Wipe down the track interior first, then lubricate the rollers and hinges. Do not lubricate the track itself. A light spray on the torsion spring reduces coil friction.
- Tighten track bolts and hinge bolts (twice a year). You’ll need a socket wrench or a crescent wrench. Check every bolt you can see on the track brackets, hinges, and the opener rail. Downey’s temperature swings loosen them over time.
- Test the auto-reverse safety feature (every month). Place a piece of scrap lumber or a water bottle flat on the floor in the door’s path. Close the door. It should reverse within two seconds of touching the object. If it doesn’t reverse, adjust the force settings or call a professional.
- Inspect cables and springs visually (every month). Look for frayed strands on cables. Look for gaps in torsion spring coils. If you see either, stop using the door and call a specialist before it fails under load.
This routine takes about ten minutes a month and prevents the majority of emergency repair calls we respond to across Downey. For more guides & resources, explore our blog. The doors that fail suddenly are almost always doors that have been neglected for years before the first symptom shows up. A door maintained on this schedule will typically give multiple warning signs before any component fails completely.
If you’d rather have a professional handle the maintenance, a full garage door installation in Downey isn’t the only service we offer. Preventive tune-ups, spring checks, and full hardware replacements are all part of what we do on a daily basis. And if it’s time for a new door entirely, we can give you brand-informed guidance across the eight major manufacturers we service, including Wayne Dalton, Craftsman, and Raynor options.
Common Mistakes to Avoid During DIY Troubleshooting
- Replacing the opener before checking the springs. As we’ve repeated throughout this guide, this is the single most expensive mistake we see. The manual-release test takes one minute and tells you which system actually failed. Skip it and you risk spending hundreds on an opener that was never the problem.
- Working on torsion springs without training. Torsion springs carry enough tension to cause severe injury or death. In Downey garages, tight working spaces make spring access even more dangerous. Do not attempt spring adjustment or replacement yourself. This is the one job that separates trained professionals from well-intentioned DIYers, and it’s the one that hurts people every year.
- Lubricating the track. Tracks should stay dry. Lubricating them makes the rollers slip and slide instead of rolling, which accelerates roller wear and produces a greasy mess that attracts dust. Lubricate the rollers, not the track they run on.
- Using the wrong lubricant. WD-40 is a solvent, not a lubricant. It cleans, then evaporates, leaving parts drier than before. Use a lubricant formulated for garage door hardware: silicone spray, lithium spray, or a garage-door-specific product.
- Adjusting force settings to “fix” a heavy door. If the door is heavy because a spring is failing, cranking up the opener’s force setting makes the opener push through the problem. It doesn’t solve it. The spring will still fail, and the opener will now be powerful enough to close on whatever is under the door, because the safety reverse has effectively been disabled. Always fix the spring, not the force setting.
- Ignoring the popping noise in springs. Popping is the early warning of spring failure. Wait and the spring breaks, probably when you’re running late and the car is inside. A spring replacement is always cheaper than a spring replacement plus a new opener burned out trying to lift a door with no spring.
When to Call a Garage Door Professional
Call a professional when the problem involves any component under spring tension or cable load. That’s the bright line. Torsion springs, extension springs, lift cables, and bottom brackets are the parts of a garage door system that hold and transfer hundreds of pounds of force, and they are not DIY repair territory. If the door is off the track, if a cable is frayed or snapped, or if the door won’t move and feels heavy, call someone who does this work full-time. The same rule applies if you’ve been through this guide’s troubleshooting steps and still can’t isolate the problem. A good technician will find the root cause within the first visit, not after three callbacks. Garage Door Service Downey offers free estimates in Downey. Call (844) 734-1196 and we’ll walk through what you’re seeing over the phone before we send someone out.
Frequently Asked Questions
Garage door repair in Downey typically runs $125 to $450 depending on the component. Roller replacement, hinge replacement, and minor track adjustments sit at the lower end. Spring replacement runs higher because the parts themselves are more expensive and the work requires precise balancing. Opener repairs vary from $100 for a wall console replacement to $300 or more for a logic board. The key is diagnosis before quote. We give a firm price before any work starts, so the number on the estimate is the number you pay. Call (844) 734-1196 for a free estimate on your specific repair.
Yes, in most cases we can. Spring replacements, roller swaps, cable repairs, and common opener fixes are all same-day or next-morning jobs because our trucks carry the parts for the eight brands we service. If your door won’t close and you need it secured overnight, call (844) 734-1196 and we’ll do everything possible to get a technician to your Downey home the same day.
In more than half of the cases we see in Downey, the motor running without door movement means a broken torsion spring, not a failed opener. The spring counterbalances the door’s weight, and when it breaks, the opener motor spins but the door is too heavy to lift. The first step is the manual-release test described earlier in this guide: pull the red cord and try to lift the door by hand. If it’s heavy, the spring is the problem. If it moves freely, the opener’s drive gear, belt, or chain may have failed, and that’s a repairable opener issue.
No. We quote a firm price before any work begins, and we honor that price. If we find additional issues during the repair, we’ll show you what we found, explain the options, and get your approval on a new number before touching anything else. The price we agree on upfront is the price on the invoice. No surprises, no add-ons after the fact.
If you have one of the eight major brands we service, there’s a good chance the parts are on the truck. We carry springs, rollers, hinges, cables, and common opener components for LiftMaster, Chamberlain, Genie, Clopay, Amarr, Wayne Dalton, Craftsman, and Raynor on every truck. That’s the practical benefit of being a single-trade specialist: the vehicle is stocked for garage door work and nothing else. If your specific part isn’t on board, we can generally source it the same day.
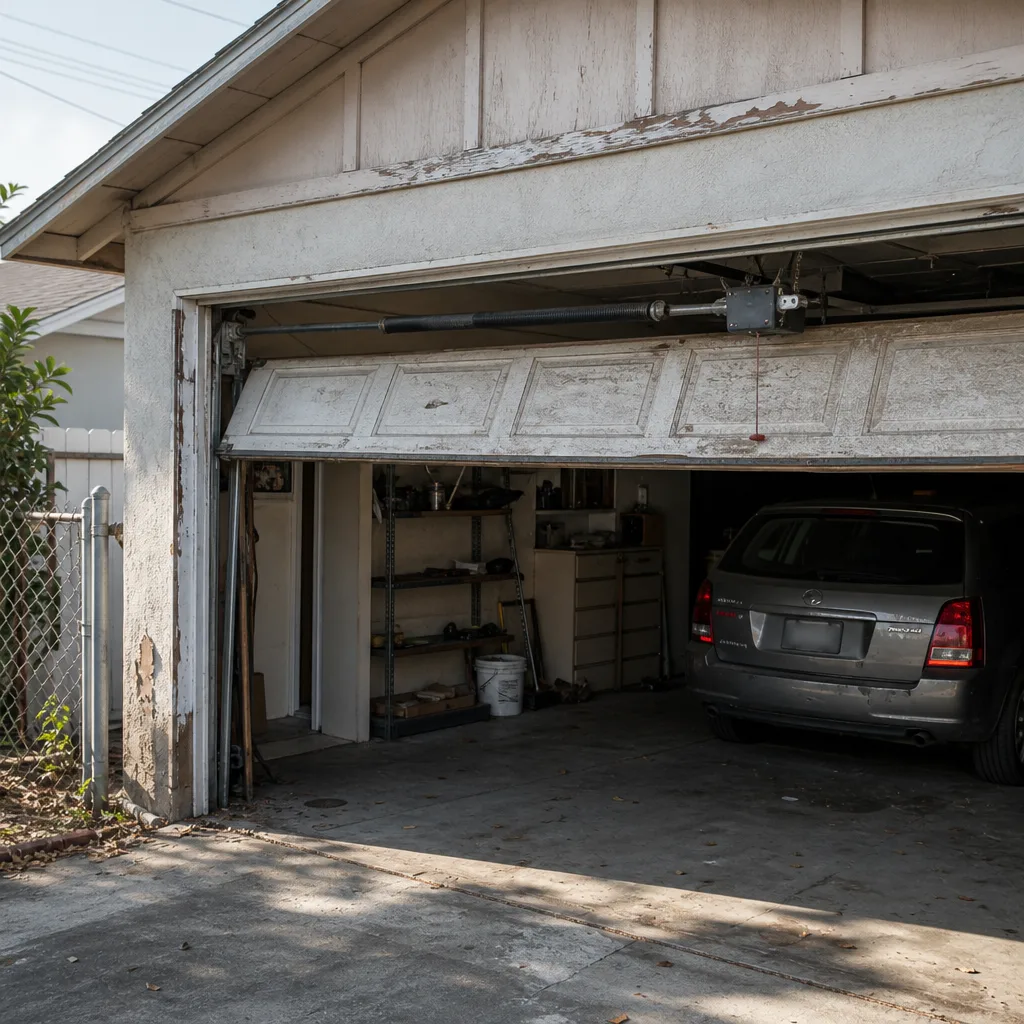
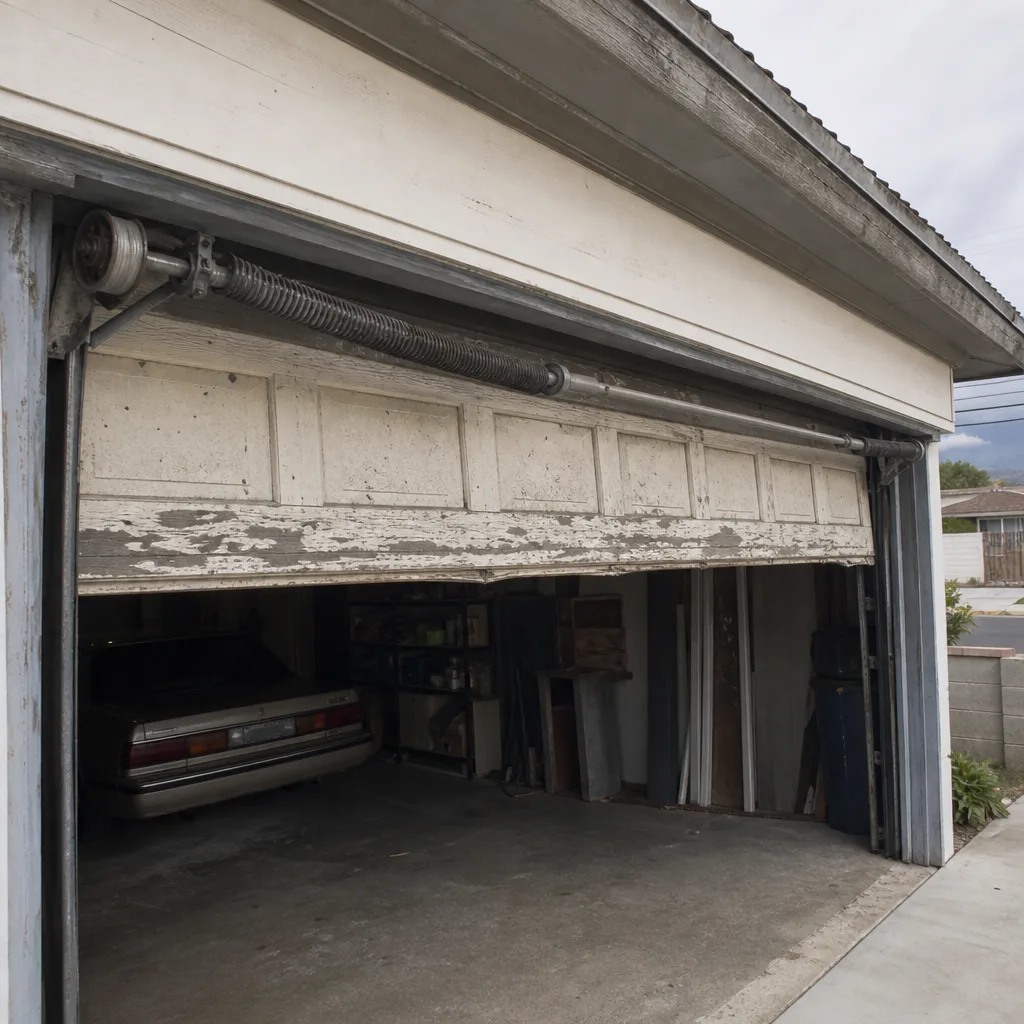
Older Downey homes, especially those built in the 1950s through 1970s, often have wood-frame doors that have been in service for decades, paired with original tracks and steel rollers. Those steel rollers are harder on tracks than the nylon rollers on newer doors, so track wear and roller flat-spotting happen faster. Hardware rusts at the connection points, and the old openers on these homes are often chain-drive units that work fine but lack modern safety features. The doors themselves can last indefinitely with maintenance, but we typically recommend replacing rollers, hinges, and frequently the opener for safety and noise control. A full door replacement is also an option if you want insulation or a quieter operation, and we can advise on that without any pressure.
The Bottom Line
Garage door troubleshooting is a sequence, not a guess. Pull the manual release and lift the door by hand. What you feel tells you whether you’re chasing a mechanical problem or an electrical one. Most “opener failures” we see in Downey are actually spring failures, and most opener replacements are performed on openers that were still fine. Listen to the noises: grinding means rollers, popping means springs, squealing means lubrication. Test the limit switches and force settings before replacing anything. And know where the bright line is: springs, cables, and bottom brackets belong to a trained professional, not a wrench in a homeowner’s hand. If you’ve worked through this guide and still aren’t sure what you’re dealing with, call us. We’ll diagnose it over the phone and quote you a firm price before anyone touches the door. That’s how a garage door specialist works, and it’s the only way we know how.
Call Garage Door Service Downey at (844) 734-1196 for a free estimate. Door and opener handled in a single visit.
Written by the team at Garage Door Service Downey, serving Downey since 2016.
See the difference
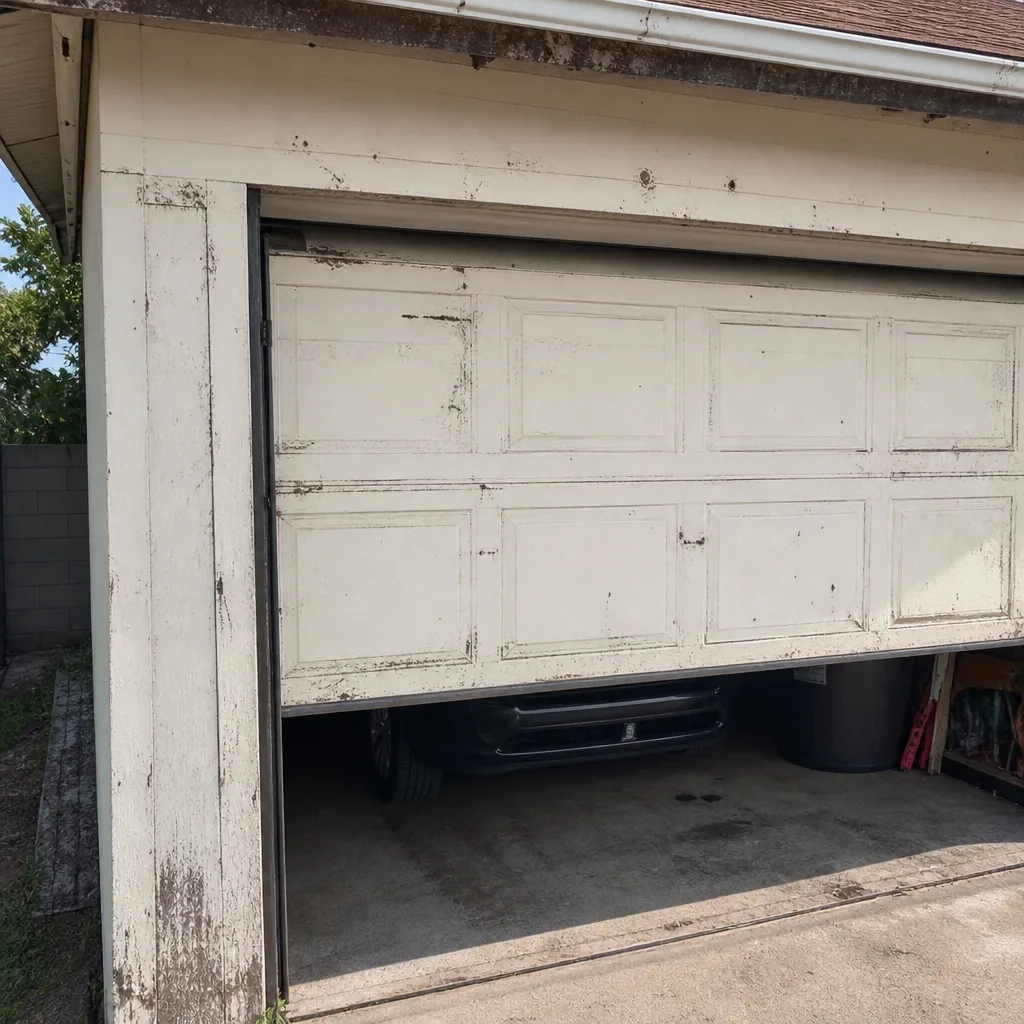 Before
 After
 Before
 After
 Before
 After