
Last updated November 2, 2026
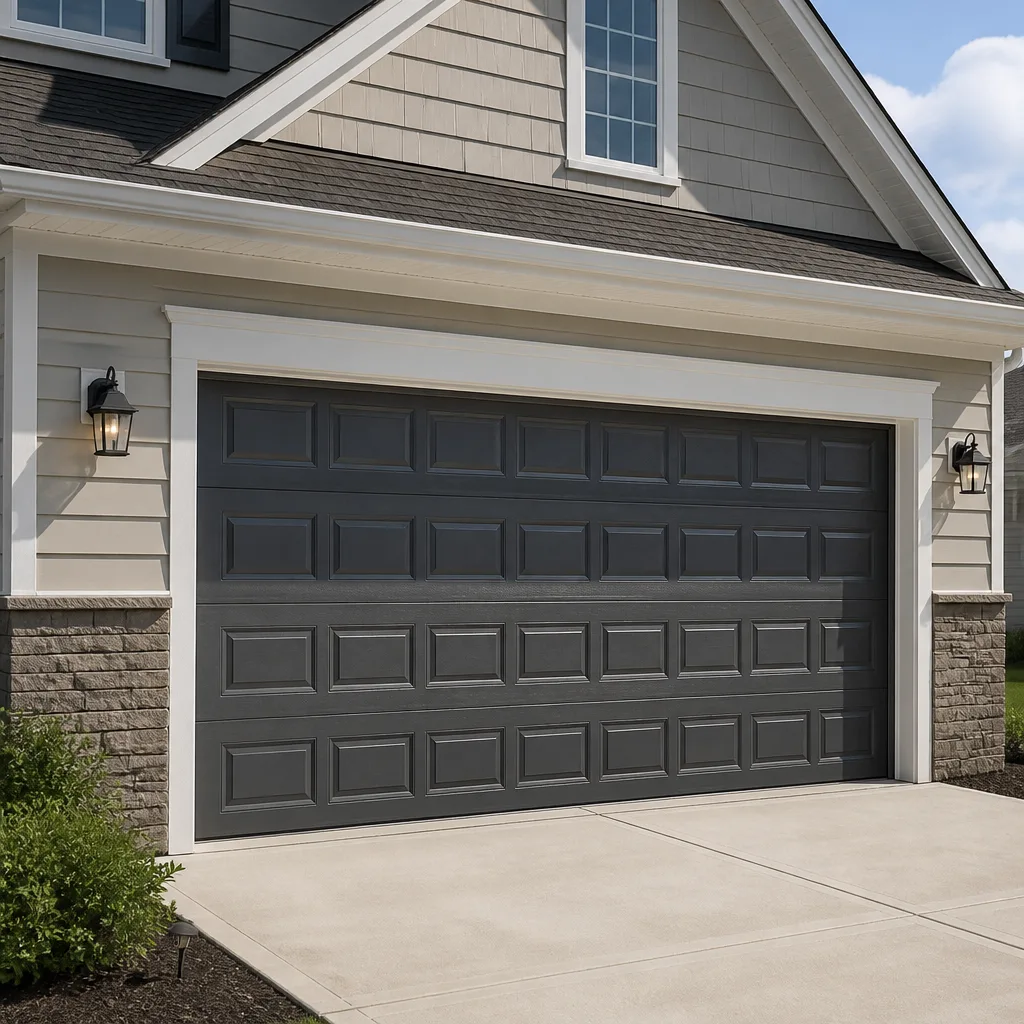 Raised-panel steel
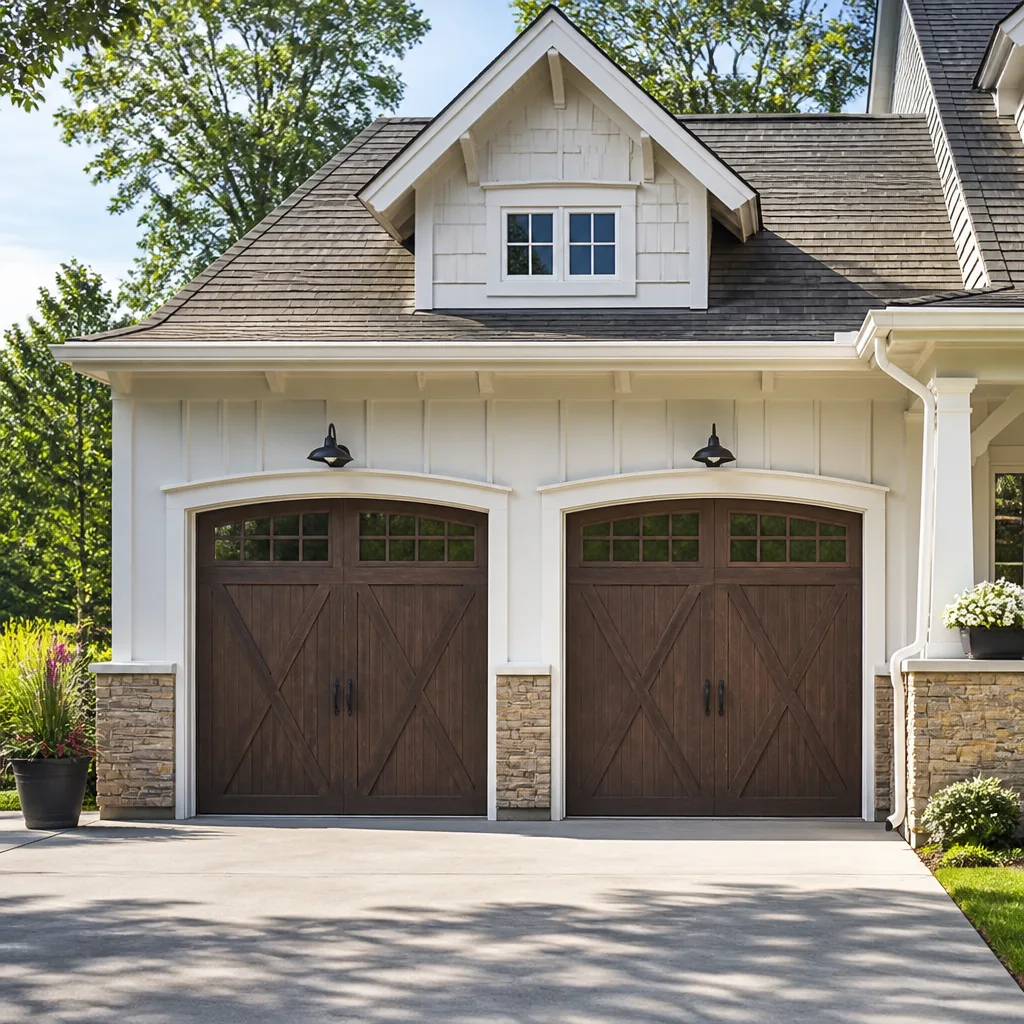 Carriage house
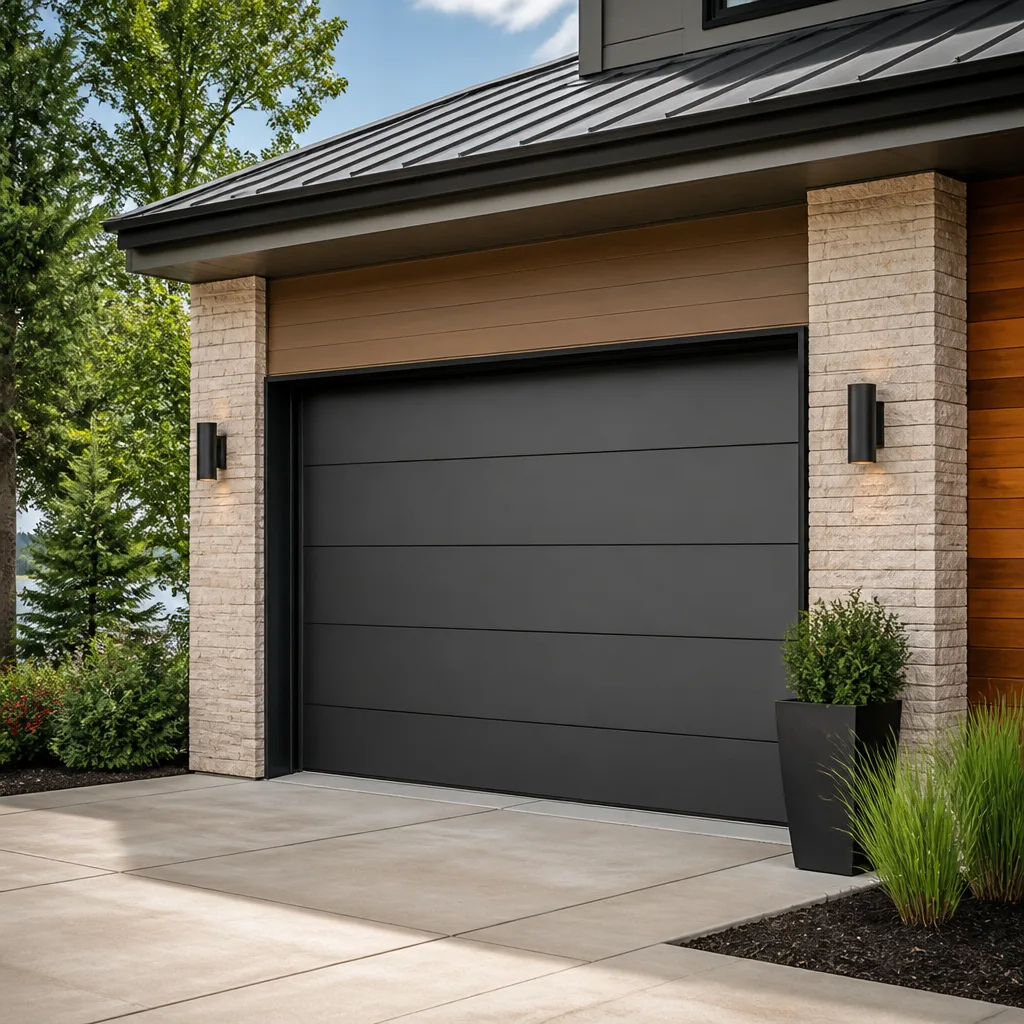 Modern flush
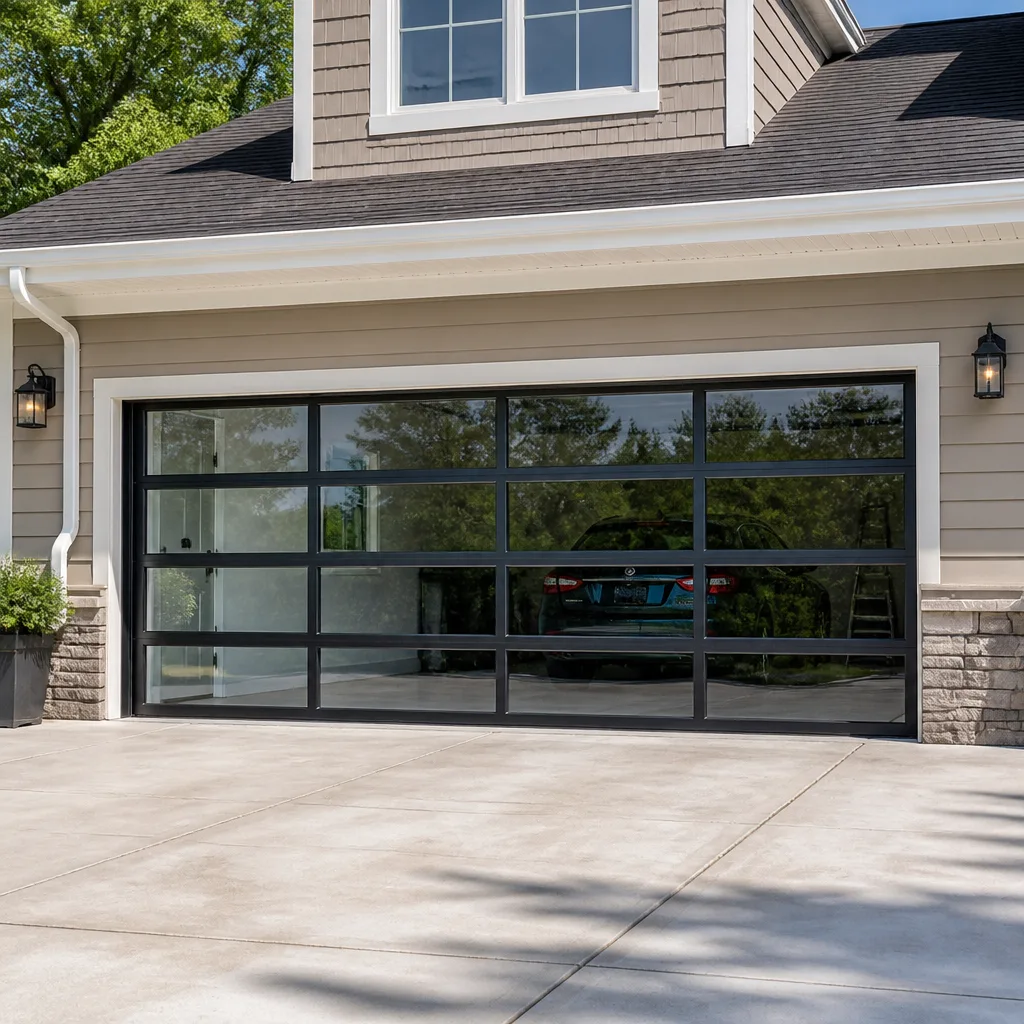 Full-view glass
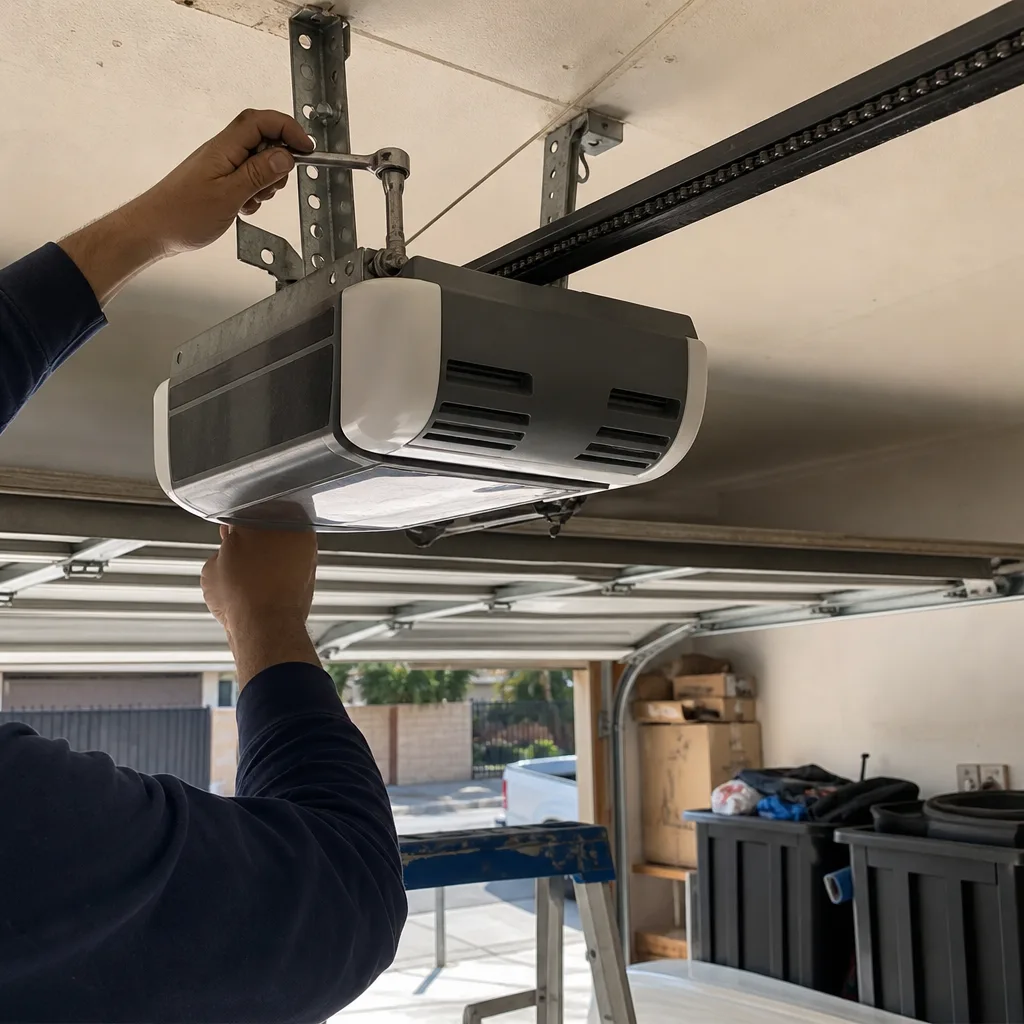
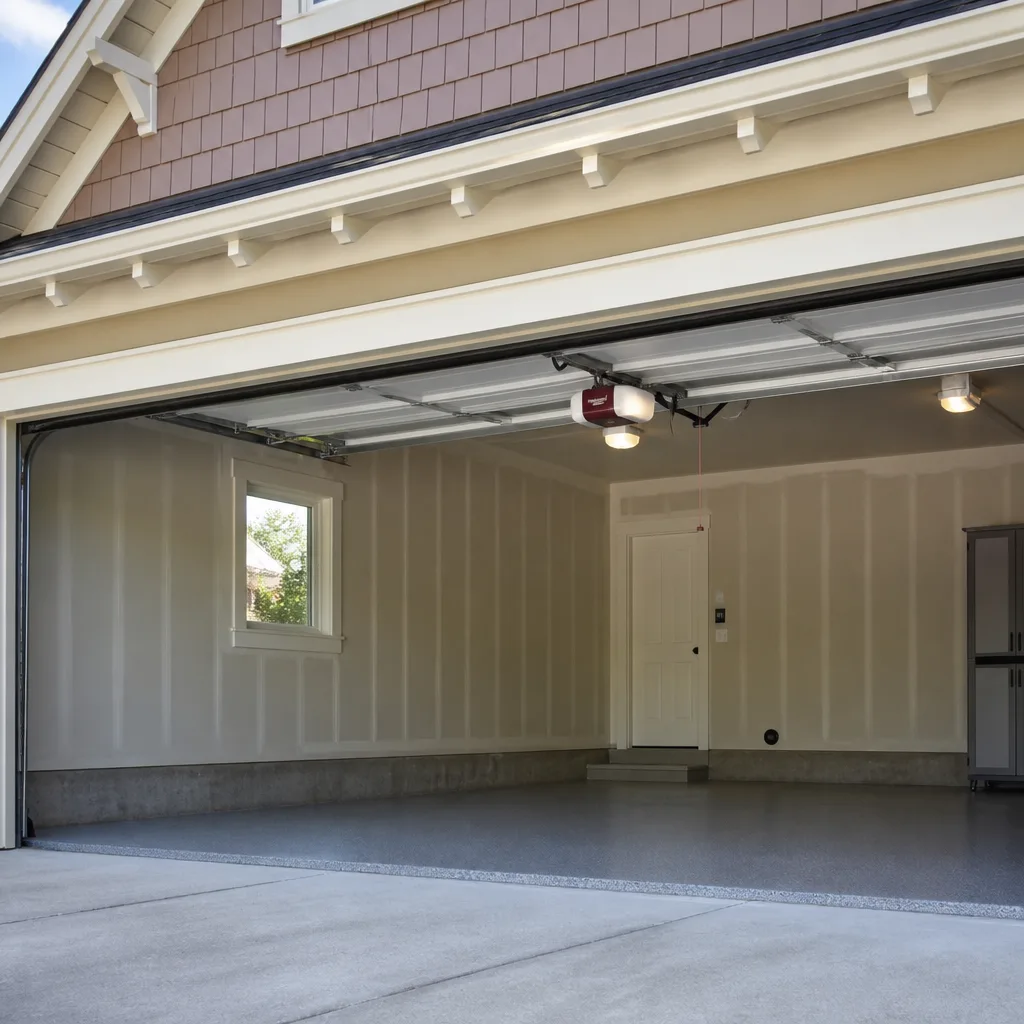 LiftMaster openers
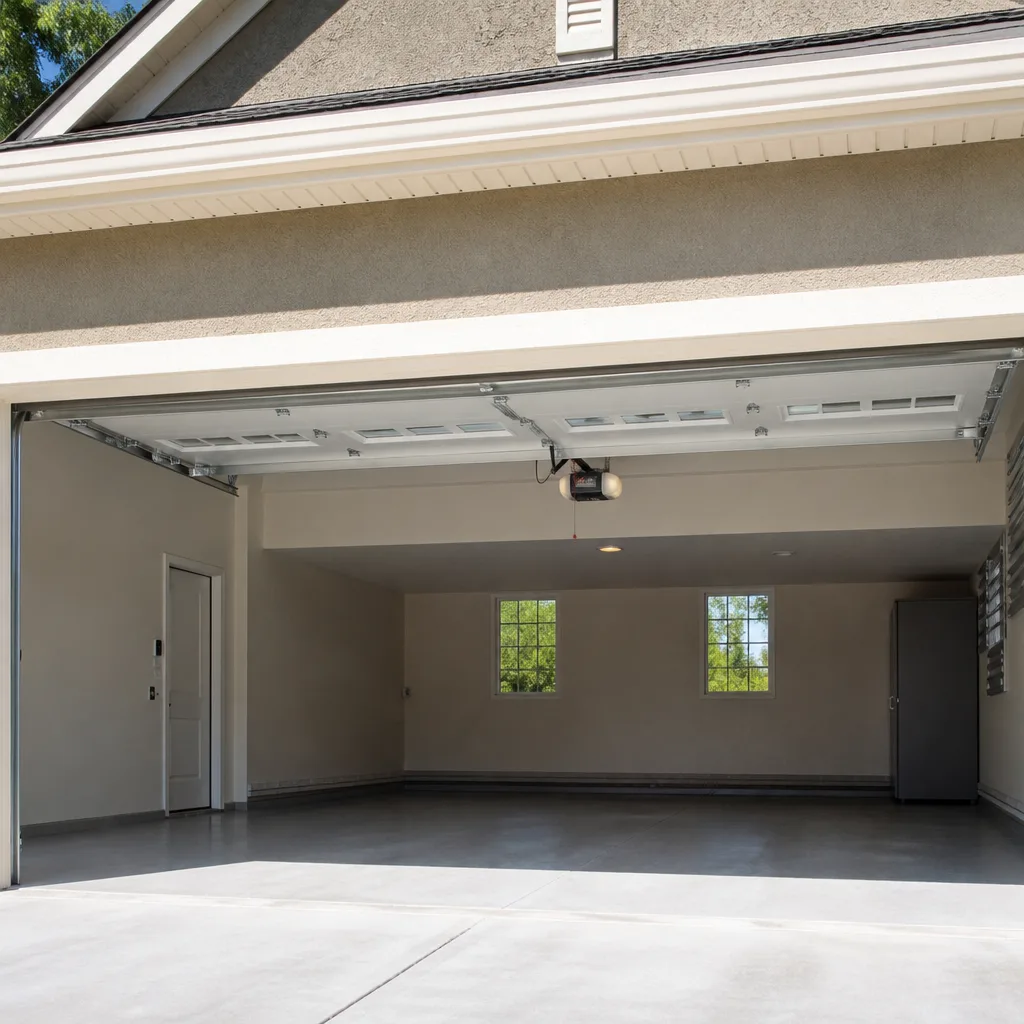 Chamberlain openers
Full 25-point door and opener safety check with every visit - springs, cables, rollers, tracks, and your LiftMaster or Chamberlain opener included
You get a price before we start. It does not change when the truck arrives.
Get your free estimateGarage Door Repair Maintenance Checklist for Downey Homeowners
Most garage door maintenance advice reads like it was written by someone who has never actually fixed a door. “Lubricate moving parts” sounds helpful until you’re standing in your garage holding a can of WD-40, wondering which parts those are and whether you’re about to make things worse. Here’s the truth: spraying WD-40 on garage door springs is one of the most common homeowner mistakes we see in Downey. It strips the factory coating and accelerates corrosion rather than protecting against it. This checklist is different. It’s sequenced the way a technician actually works through a door, with specific lubricants, specific tests, and specific signs that tell you whether a component needs maintenance or replacement. By the end, you’ll know exactly what to check, what to skip, and when to call a specialist.
Styles & brands we work with
- Raised-panel steel
- Carriage house
- Modern flush
- Full-view glass
- LiftMaster openers
- Chamberlain openers
Quick Answer
A proper garage door maintenance routine in Downey takes about 30 minutes every three months and covers seven components: springs, cables, rollers, tracks, weatherstripping, the opener, and the safety sensors. The most important checks are the door balance test, visual inspection of cables for fraying, lubrication of rollers and hinges with silicone spray (never the springs), and alignment testing of the safety reversing sensors. If your door drifts more than 3 inches when released halfway, the springs are nearing end-of-life and need professional attention.
Table of Contents
- Spring Inspection: The 3-Inch Drift Test and What It Means
- Cables: What Fraying Actually Looks Like Up Close
- Rollers and Hinges: Lubrication Specs by Component
- Track Alignment: Visual Cues That Signal Trouble
- Weatherstripping: Why Downey Summers Eat Through It
- Opener Maintenance: Force Settings, Reversal, and Noise
- Safety Sensors: The 2×4 Test Every Six Months
- Downey-Specific Service Interval Schedule
- Common Mistakes to Avoid
- When to Call a Professional
- Frequently Asked Questions
- The Bottom Line
Spring Inspection: The 3-Inch Drift Test and What It Means
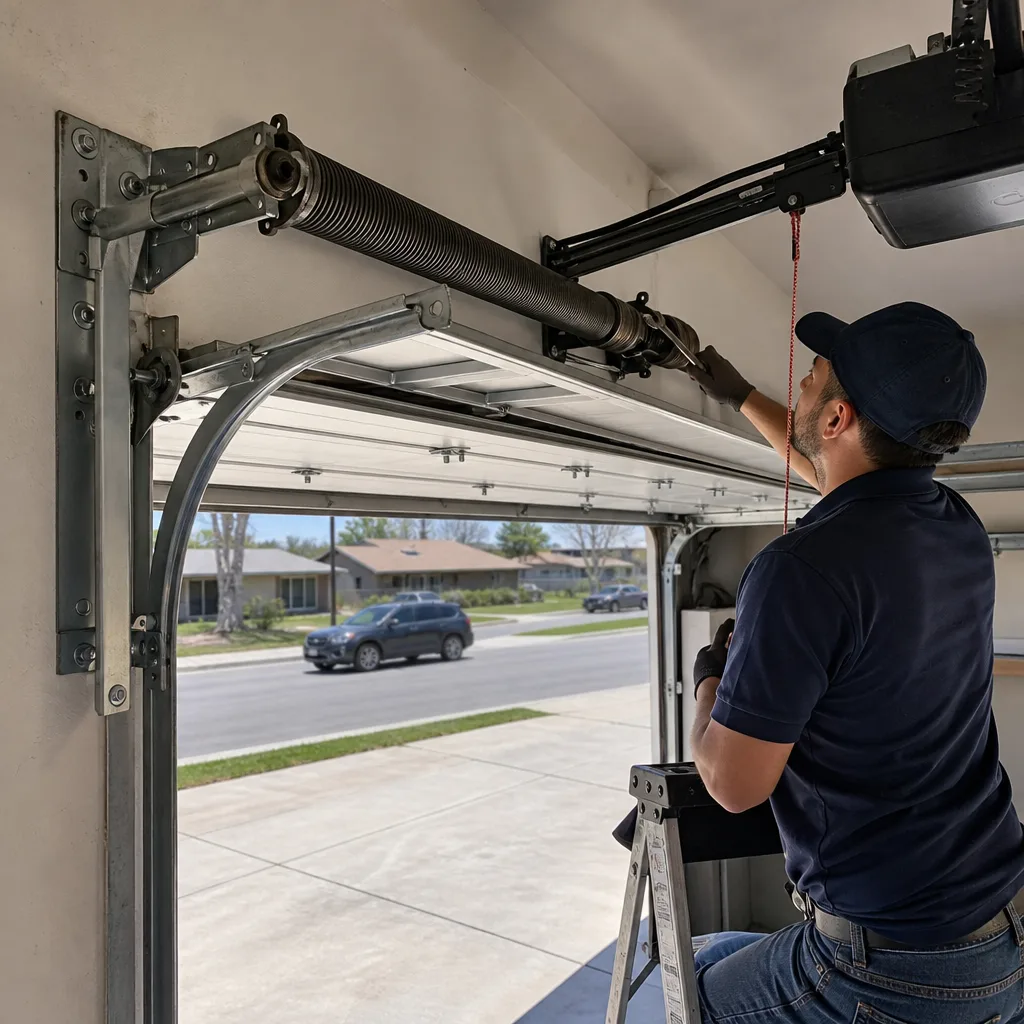
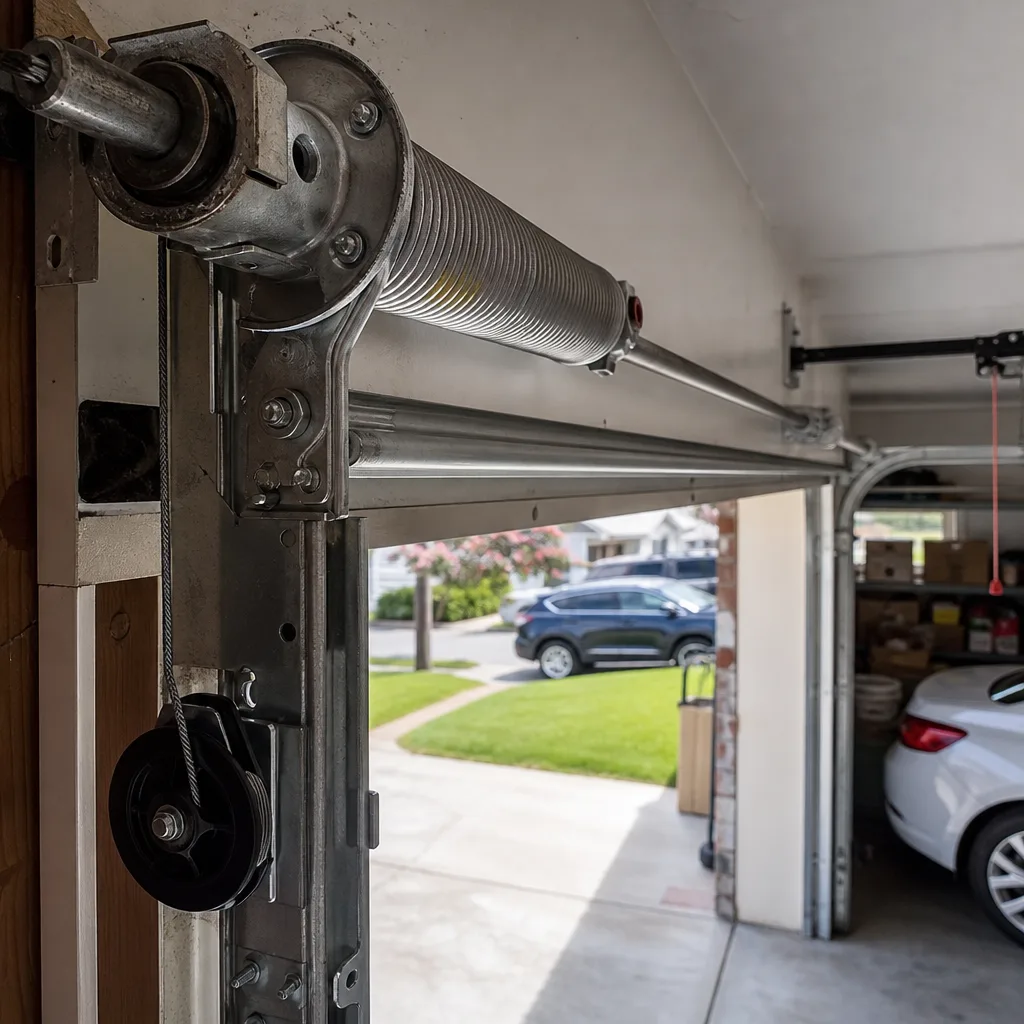
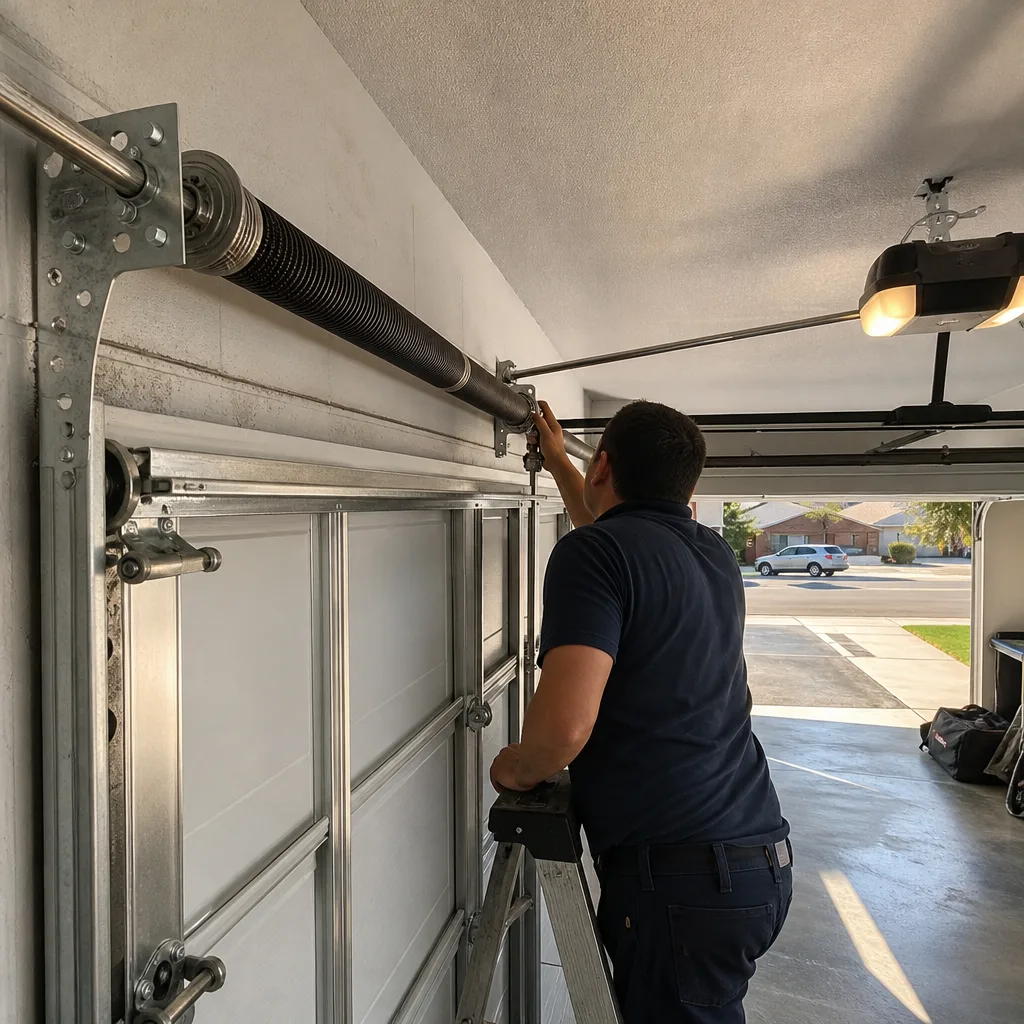
Springs are the muscle of your garage door, and in Downey they work harder than homeowners realize. A standard torsion spring is rated for roughly 10,000 cycles, which translates to about 7 to 10 years of daily use. When springs weaken, every other component absorbs the strain: the opener motor burns out faster, cables stretch unevenly, and rollers flatten under the added load. The good news is that spring health is testable in under two minutes.
Here’s the balance test we perform on every service call:
- Close the door completely.
- Pull the emergency release cord (the red handle hanging from the opener rail).
- Manually lift the door to the halfway point, about waist height.
- Let go carefully and watch what happens.
A healthy door stays put or drifts no more than an inch or two. A door that sinks more than 3 inches toward the floor on its own has springs that are losing tension. That’s not a lubrication issue. That’s a spring nearing replacement. A door that shoots upward has springs that are over-tensioned, which is equally dangerous and usually the result of a previous DIY adjustment gone wrong.
One important note: torsion springs are under enormous tension. We never recommend adjusting them yourself, even if you’ve watched a video. The winding bars, the set screws, the torque involved – one slip and you’re dealing with serious injury. This is the single most dangerous component in any home, and it’s the one place where “just take a look” should never turn into “just give it a turn.”
In Downey neighborhoods like Northeast Downey and the Stonewood area, we see spring failure spike in summer months. Heat causes the metal to expand and contract more dramatically than the coastal cities experience, and that thermal cycling accelerates metal fatigue. If your door hesitates on the way up, feels heavier than it used to, or makes a loud bang when the spring finally snaps, you’re past the maintenance window and into repair territory.
Cables: What Fraying Actually Looks Like Up Close
Cables are the unsung workhorses of your door system. They work in tandem with the springs to lift and lower the door evenly, and when they fail, the door can drop hard and fast. We’ve seen cable failures in Downey garages that resulted in a door caving in at the corner, bending the track and warping the bottom panel. The frustrating part: cable failure is almost always preventable with a visual inspection.
Here’s what to look for, in order of severity:
- Frayed strands near the bottom bracket: This is the highest-wear point. You’ll see individual wires poking out from the main cable like split ends on a rope. This is stage one, and it’s the time to call a professional.
- Rust discoloration: Downey’s relatively dry climate helps here, but garages with water heaters or laundry hookups create enough humidity to rust cables over time. Rust weakens the steel and accelerates fraying.
- Kinks or flat spots: Run your hand along the cable (with the door closed and the opener unplugged) and feel for inconsistencies. A kinked cable is a compromised cable.
- Loose cable on one side: If one cable hangs slack while the other is taut, the door is lifting unevenly. This is a sign of spring imbalance or a cable that’s about to slip off the drum.
On LiftMaster and Chamberlain systems, we sometimes see cable wear concentrated on one side because the opener’s force settings were never adjusted after installation. A door that lifts slightly crooked for years will eat through cables unevenly. If you notice your door has a slight tilt when fully open, that’s your early warning.
Cable replacement is not a DIY job. The cables are under the same spring tension as the springs themselves. We’ve replaced cables on doors throughout Downey where a homeowner attempted the repair and ended up with a door that wouldn’t open at all. The cost of a professional cable replacement is a fraction of what it costs to fix a dropped door.
Rollers and Hinges: Lubrication Specs by Component
This is where most maintenance guides fail. “Lubricate moving parts” without specifying which lubricant, on which parts, and which parts to leave alone is how garage doors end up gummed with the wrong product. Let’s fix that.
Use silicone spray on:
- Steel rollers (the wheel part, not the stem)
- Hinges (the pivot points where they bend)
- The torsion spring (a light coat on the spring coil itself)
- Locks and latch mechanisms
Silicone spray is the right choice because it lubricates without attracting dirt. Downey’s dry, dusty air puts a lot of particulate matter in the air, especially during Santa Ana conditions. Petroleum-based lubricants grab that dust and turn into grinding paste.
Use white lithium grease on:
- The opener rail (the metal track the trolley rides along)
- Bearing plates on the torsion tube
White lithium is heavier and stays put under pressure. It’s the right tool for metal-on-metal contact points that don’t need to stay clean of debris.
Never lubricate:
- Nylon rollers (they’re self-lubricating; adding spray just makes them collect grit)
- The track itself (a lubricated track reduces traction and can cause the door to slip)
- Garage door cables (they need to grip the drum, not slide against it)
- The bottom weatherstrip (lubricant degrades the rubber)
One more thing: if your rollers are worn to the point where they wobble in the track, lubrication isn’t the answer. LiftMaster and Wayne Dalton doors often have rollers with visible bearing wear by year eight or nine. A wobbling roller isn’t quieted by silicone; it’s replaced. We carry roller replacements for all major brands on the truck, including Craftsman and Raynor models.
Track Alignment: Visual Cues That Signal Trouble
Tracks guide the door from horizontal to vertical and back, but they’re not load-bearing in the way most people assume. The springs carry the weight; the tracks just keep the door moving in the right direction. When tracks get bent or knocked out of alignment, the door fights against them, and you’ll hear it.
The visual inspection is straightforward. With the door closed, stand inside the garage and look at the vertical track on each side. Check for these four things:
- Width consistency: The gap between the track and the door edge should be even from top to bottom. A taper means the track is bowing inward or outward.
- Bolt tightness: The brackets that hold the track to the wall should be snug. Loose brackets let the track shift under load.
- Signs of rubbing: Look for shiny metal or paint wear on the inside of the track. That’s the door making contact where it shouldn’t.
- Debris buildup: Downey’s dust storms and occasional heavy winds can deposit grit inside the track. A quick vacuum with a crevice tool handles this.
If the track is visibly bent – an actual dent or kink – don’t try to straighten it. A bent track puts uneven pressure on the rollers and can cause one to pop out of the track entirely. That’s a call to a garage door repair specialist in Downey.
We see more track issues on doors that get hit by cars. It sounds obvious, but a slow bump into a closing door bends the bottom track bracket just enough to cause problems months later. If anyone in your household has ever “tapped” the door with the car, check the bottom brackets first.
Weatherstripping: Why Downey Summers Eat Through It
The rubber seal along the bottom of your door does more than keep out rain. In Downey, where summer temperatures regularly top 90°F, the weatherstripping takes a beating from heat and direct sun exposure on west-facing garages. When it cracks, shrinks, or goes brittle, you’ll get daylight under the door, dust inside the garage, and a running invitation for rodents.
Here’s what to check and when to replace:
- Compression check: Close the door and look for gaps between the seal and the garage floor. A seal should compress slightly. A hardened seal that doesn’t compress lets in dust and insects.
- Flex test: Bend the seal with your fingers. Supple is good. Cracking or snapping is not.
- End wear: The corners of the seal take the most abuse. Check both ends for tears or shrinkage that expose the bottom panel edge.
Downey’s climate is harder on weatherstripping than coastal communities because of the combination of heat, occasional heavy rain, and dry air. We typically see seals need replacement every three to five years here, compared to five to seven in cities with more moderate weather. If your seal is original and your house was built before 2015, you’re probably due.
Replacement is one of the few maintenance tasks a handy homeowner can handle without special tools. The seal slides out of the channel on most doors, and a replacement runs $30 to $60 at any hardware store. The important part: match the T-shaped or bead-shaped channel to your door. Wayne Dalton and Clopay use slightly different channel profiles, and forcing the wrong seal in is a waste of an afternoon.
Opener Maintenance: Force Settings, Reversal, and Noise
The opener is the most neglected component on most Downey garage doors, and it’s the one we get called about most often. A garage door opener repair is usually preventable with three simple checks.
First, test the auto-reverse force setting. Place a 2×4 flat on the ground under the door’s path. Close the door. It should hit the wood and reverse within two seconds. If the door strains against the block, stops, or reverses slowly, the force setting is too high. This is the number one safety issue we find in Downey garages. On LiftMaster and Chamberlain units, the force adjustment is a dial on the motor housing. On newer models, it’s a digital setting.
Second, listen to the opener while it runs. A healthy opener hums steadily with a mechanical whir. Grinding, rattling, or a “chugging” sound means the chain or belt is loose, the sprocket is worn, or the motor is working harder than it should. A smooth-running door that sounds like it’s struggling points to spring wear, not opener failure. The opener is compensating for a door that’s gotten heavier.
Third, inspect the belt or chain tension. A chain that sags more than half an inch at the midpoint is too loose. A belt that’s visibly slipping or has cracks is due for replacement. Most Craftsman and Genie units have tension adjustment instructions on a label right on the rail.
We work on all these brands, and the failure patterns are consistent across the board. Genie openers from the early 2010s have a known issue with the travel limit modules. LiftMaster security+ 2.0 units occasionally lose their programming after power surges, which are common in older Downey neighborhoods with above-ground power lines. If your opener starts behaving erratically after a thunderstorm or a power outage, a reprogramming is often all it needs.
Safety Sensors: The 2×4 Test Every Six Months
Since 1993, every garage door opener sold in the United States has been required to include safety reversing sensors. These are the two small units mounted about 6 inches off the floor on each side of the door opening. They project an invisible infrared beam. If anything breaks that beam while the door is closing, the door stops and reverses.
If your sensors are misaligned, dirty, or failing, the door will behave erratically: refusing to close, reversing for no reason, or closing on objects it should detect. In Downey, sensor lenses collect dust and cobwebs faster than most homeowners expect. Here’s the test that catches problems before they become safety hazards:
- Check the indicator lights on both sensors. Green or solid means aligned. Blinking or off means misaligned or blocked.
- Wipe the lenses with a dry microfiber cloth. Don’t use glass cleaner; it can leave a film.
- With the door open, wave your hand through the beam. The opener light should flash and the door should not close.
- Place a 2×4 on the floor under the door and close it. The door must reverse before touching the wood.
If both sensors show solid lights but the door still won’t close, check the wiring. In many Downey homes, especially older construction, the sensor wires run exposed along the wall near the floor. Lawn equipment, bikes, and storage boxes knock these wires loose regularly. We prefer a quick visual check before calling a technician, because loose sensor wires are a $0 fix.
One more thing: direct sunlight can interfere with sensor signals. This is a real issue on south-facing and west-facing garages in Downey, especially in late afternoon when the sun sits low. If your door consistently refuses to close at certain times of day, the sun is likely hitting the sensor directly. A simple cardboard shade taped above the sensor usually solves it. If it doesn’t, the sensor itself may be failing.
Downey-Specific Service Interval Schedule
Generic maintenance schedules from national websites don’t account for Downey’s actual climate. Our dry heat, occasional heavy rain, Santa Ana wind events, and inland temperature swings all affect how quickly components wear. This schedule is calibrated for what we actually see in Downey garages.
| Component | Inspection Interval | Lubrication/Service Interval | Expected Service Life in Downey |
|---|---|---|---|
| Torsion springs | Every 3 months (balance test) | Light silicone coat annually | 7-10 years (heat accelerates fatigue) |
| Cables | Every 3 months (visual) | Never lubricate | 8-12 years (replace at first fraying) |
| Steel rollers | Every 6 months | Silicone spray every 6 months | 8-10 years |
| Nylon rollers | Every 6 months | Never lubricate | 12-15 years |
| Hinges | Every 6 months | Silicone spray every 6 months | Life of door with lubrication |
| Tracks | Every 6 months | Vacuum debris; never lubricate | Life of door (unless bent) |
| Weatherstripping | Every 3 months | Replace every 3-5 years | 3-5 years in Downey heat |
| Opener belt/chain | Every 6 months | Tension check annually | 10-15 years |
| Safety sensors | Every month (indicator lights) | Lens wipe monthly | Life of opener with cleaning |
This differs from national recommendations in two ways. First, Downey’s summer heat accelerates spring fatigue, so if your springs are past year seven, we recommend the balance test every month rather than every three. Second, the dust load from Santa Ana winds and the 710 and 605 freeway corridors means sensor lenses and opener rails need cleaning more often here than in coastal communities.
For most Downey homeowners, a full maintenance pass takes 30 minutes every three months. It’s the cheapest insurance you can buy for a system that opens and closes 1,500 to 2,000 times a year.
Common Mistakes to Avoid
- Using WD-40 on springs or rollers. WD-40 is a solvent, not a lubricant. It strips protective coatings and leaves metal exposed. We see this constantly in Downey garages, and it always does more harm than good. Use silicone spray instead.
- Lubricating the track. Your door’s rollers need to grip the track slightly, not slide freely. A lubricated track causes the door to shimmy, climb, or bounce. Greasy tracks also collect Downey’s notorious dust until they look like they’re coated in mud.
- Ignoring a noisy door. A door that suddenly gets loud is trying to tell you something. Squealing means dry rollers. Grinding means debris in the track. A sharp bang means a spring snapped. None of these resolve on their own.
- Adjusting springs without proper tools and training. Torsion springs are under enough tension to cause serious injury. This is the one repair where even experienced DIYers should step aside. The winding bars, the torque, the risk of a spring unloading suddenly – it’s not worth it.
- Skipping the balance test. Most Downey homeowners only check their door when it stops working. The balance test takes 90 seconds and catches spring fatigue before it becomes a snapped spring at 7 a.m. on a workday.
- Replacing the opener when the problem is the door. We see this all the time. A homeowner’s door gets heavy, the opener starts struggling, and they assume the opener is failing. They buy a new one, and the new opener struggles just as much. If the door doesn’t lift easily by hand, the problem is the door, not the motor.
- Ignoring the safety sensors after a remodel. Homeowners in Downey who convert garages into workshops, gyms, or storage areas often accidentally knock sensor wiring loose, then wonder why the door won’t close. Check your sensors before calling anyone.
When to Call a Professional
Eight of the ten most common garage door repairs involve the springs, the cables, or both. Those components are under high tension and should be handled by someone with the right tools and training. If your door won’t open, if the balance test shows a 3-inch drop or more, if you see frayed cables, or if a spring has snapped, that’s a professional repair. Same goes for any track issue that involves a visible bend or a roller that’s jumped the track.
Garage Door Service Downey offers free estimates in Downey. We work exclusively on garage doors – it’s all we do, and it shows. Our technicians are already familiar with your LiftMaster, Chamberlain, Genie, Clopay, Amarr, Wayne Dalton, Craftsman, or Raynor system before we arrive. Call (844) 734-1196 for a free estimate, and we’ll handle the door and the opener in a single visit.
Frequently Asked Questions
A full maintenance check every three months is the right interval for most Downey homes. This covers the balance test, cable inspection, roller and hinge lubrication, sensor testing, and weatherstripping inspection. The schedule takes about 30 minutes once you know what you’re looking for, and you can find more guides & resources on our blog. If your springs are over seven years old or your garage faces direct afternoon sun, increase the balance test frequency to monthly.
Use silicone spray on steel rollers, hinges, locks, and the torsion spring. Use white lithium grease on the opener rail and the bearing plates. Never use WD-40 – it’s a solvent that strips protective coatings and accelerates corrosion, especially in Downey’s dry, dusty conditions. Nylon rollers and the tracks themselves should never be lubricated at all.
Perform the balance test: pull the emergency release, lift the door to the halfway point, and let go. If the door drifts more than 3 inches toward the floor, the springs are losing tension and approaching replacement. You may also notice the door feeling heavier than it used to, the opener struggling more often, or a loud bang when a spring finally snaps.
No. Cables are under the same torsion as the springs, and replacing them without proper training and tools is dangerous. A cable that slips during a DIY repair can send the door crashing down. We recommend calling a professional for cable replacement, especially on doors in Downey where heat has already weakened the metal.
The most common causes we see in Downey are dirty or misaligned safety sensors, direct sunlight hitting the sensor lens on west-facing garages in the afternoon, and track obstructions from dust and debris buildup. Start by checking the sensor indicator lights and wiping the lenses. If the door still won’t close, the force settings or travel limits may need adjustment.
A professional maintenance visit typically costs between $85 and $150 in Downey, depending on what’s included. Most companies offer a basic inspection and lubrication at the lower end, with more comprehensive service that includes sensor testing, balance adjustments, and minor parts replacement trending higher. Many homeowners find that a maintenance visit catches spring or cable wear early, which is far cheaper than an emergency repair. Call (844) 734-1196 for an exact quote – estimates are free.
The Bottom Line
Garage door maintenance isn’t complicated, but it is specific. The right lubricant on the right parts, a 90-second balance test every three months, a visual cable inspection, and a sensor check take 30 minutes total. Do those things consistently, and your door will last years longer and operate quieter. Skip them, and you’ll eventually deal with a snapped spring, a frayed cable, or an opener that fails at the worst possible time. Downey’s heat and dust make maintenance more important here than in most of Southern California. If you’d rather have a professional handle it, we’re a single-trade specialist serving Downey with eight major brands, one focused team. Call (844) 734-1196 for a free estimate.
Written by the team at Garage Door Service Downey, serving Downey since 2016.
See the difference
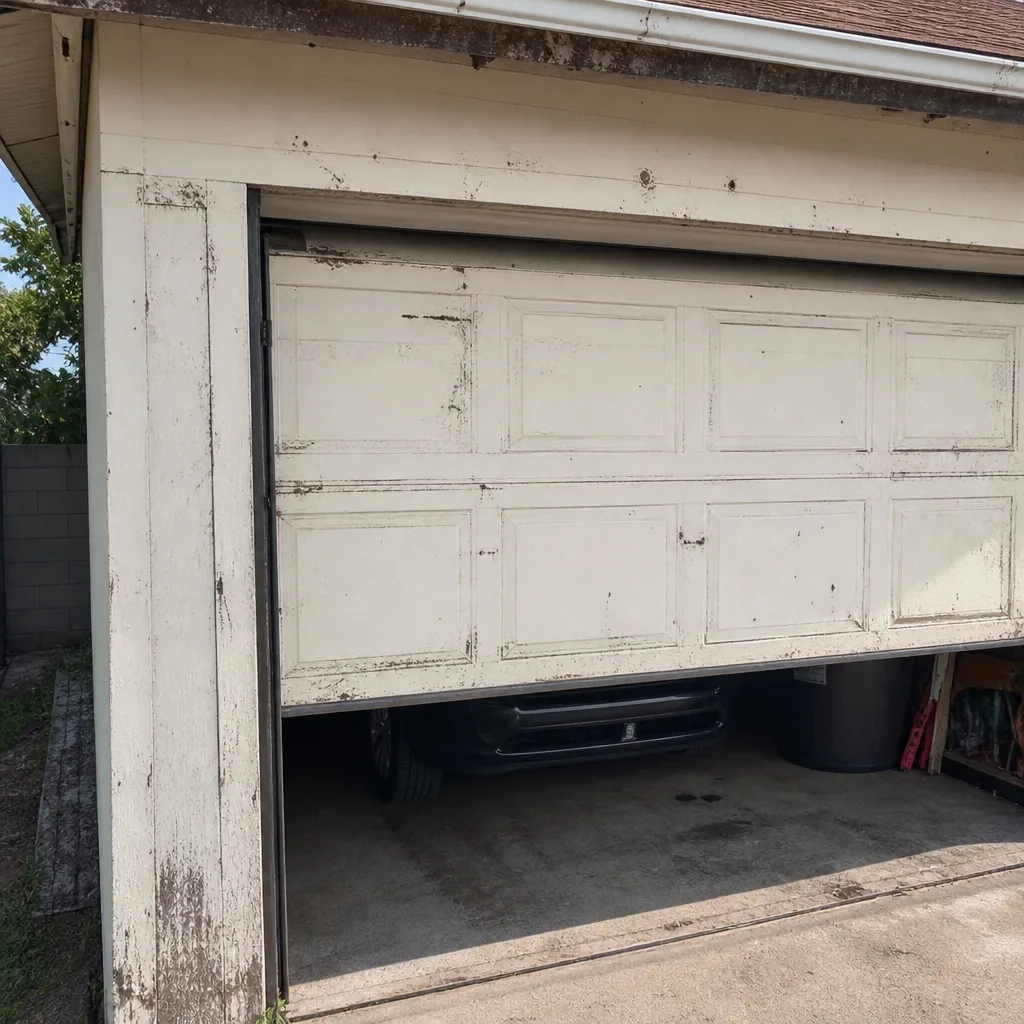 Before
 After
 Before
 After
 Before
 After